3D Carver
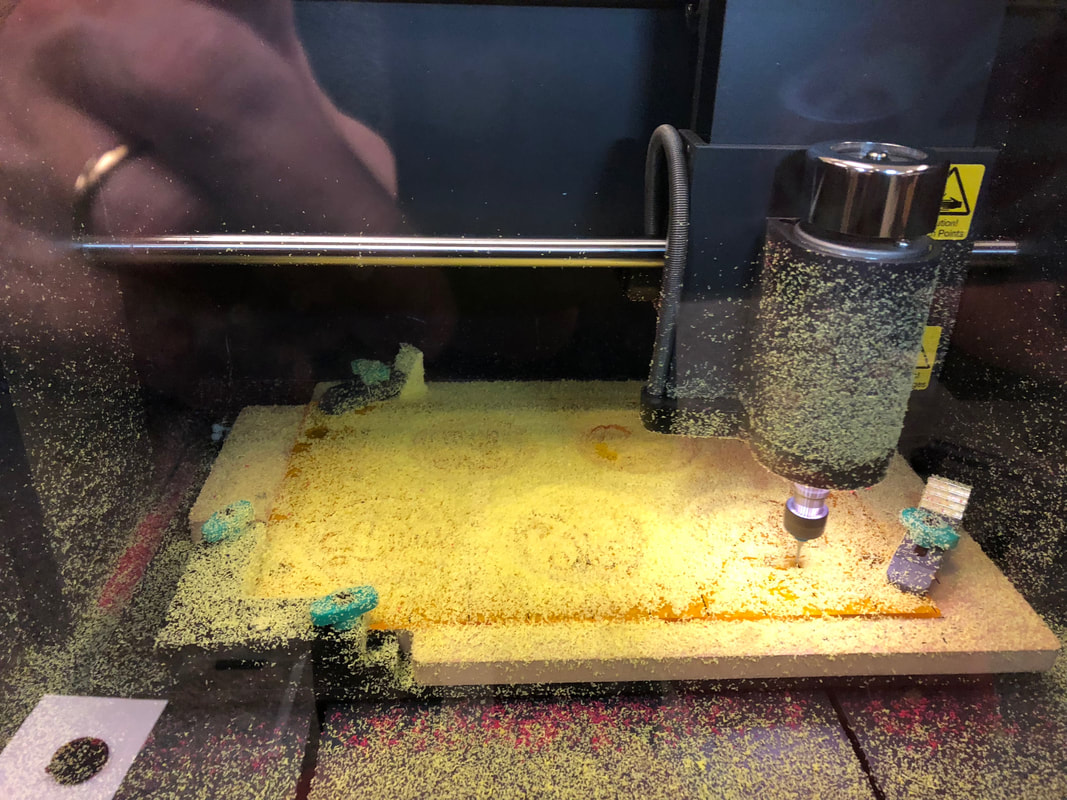
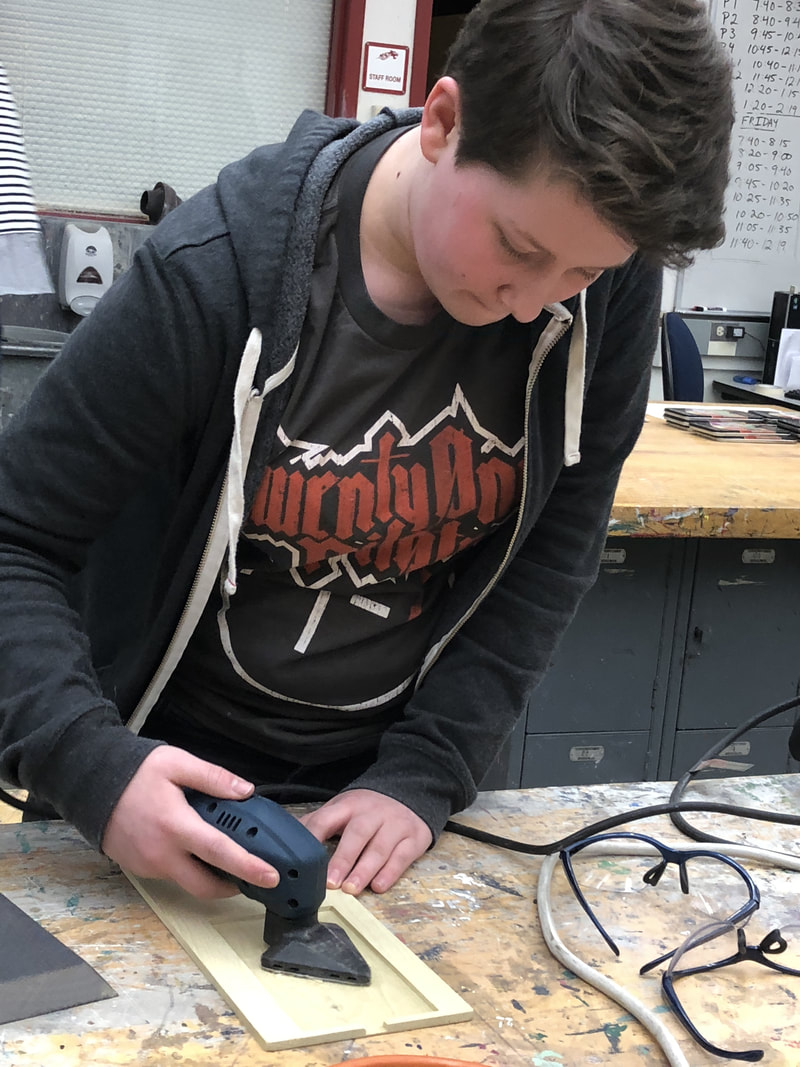
The Snoqualmie Valley Schools Foundation provided us with a grant to purchase the Carvey from Inventables. It has been an incredibly fun and educational couple weeks.
We have learned a ton of about bits, materials and the iterative process of designing with an end product in mind. Our first project was to design
We have learned a ton of about bits, materials and the iterative process of designing with an end product in mind. Our first project was to design
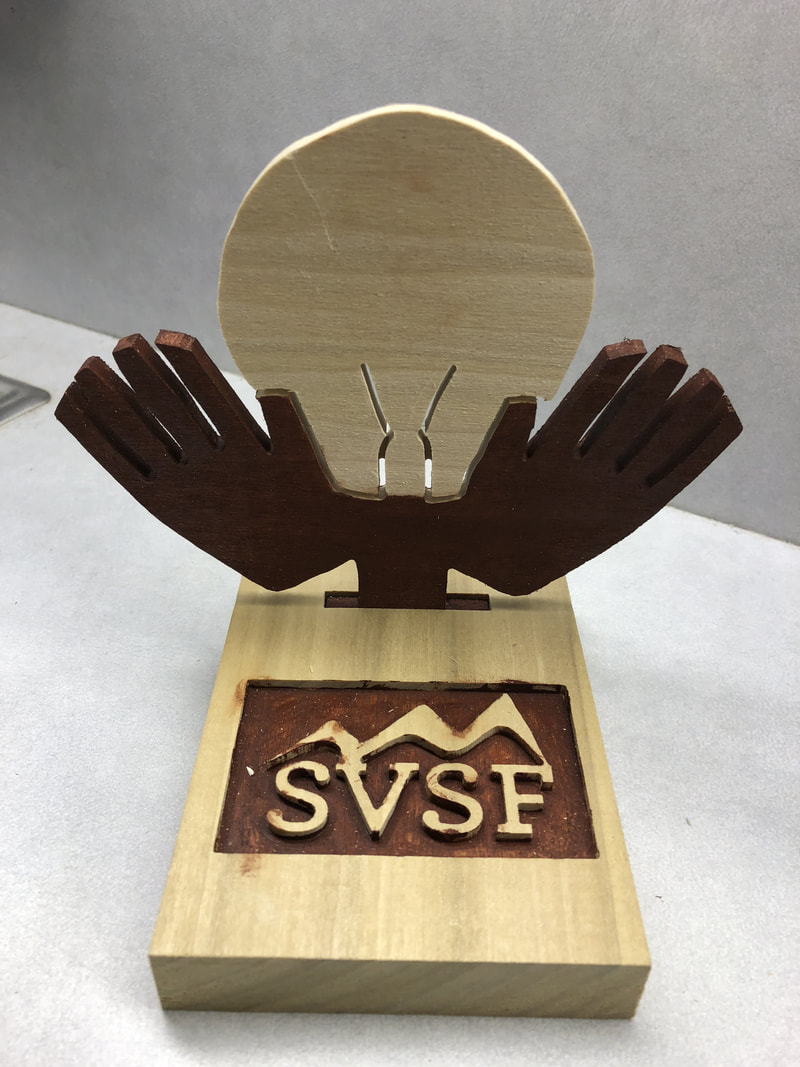
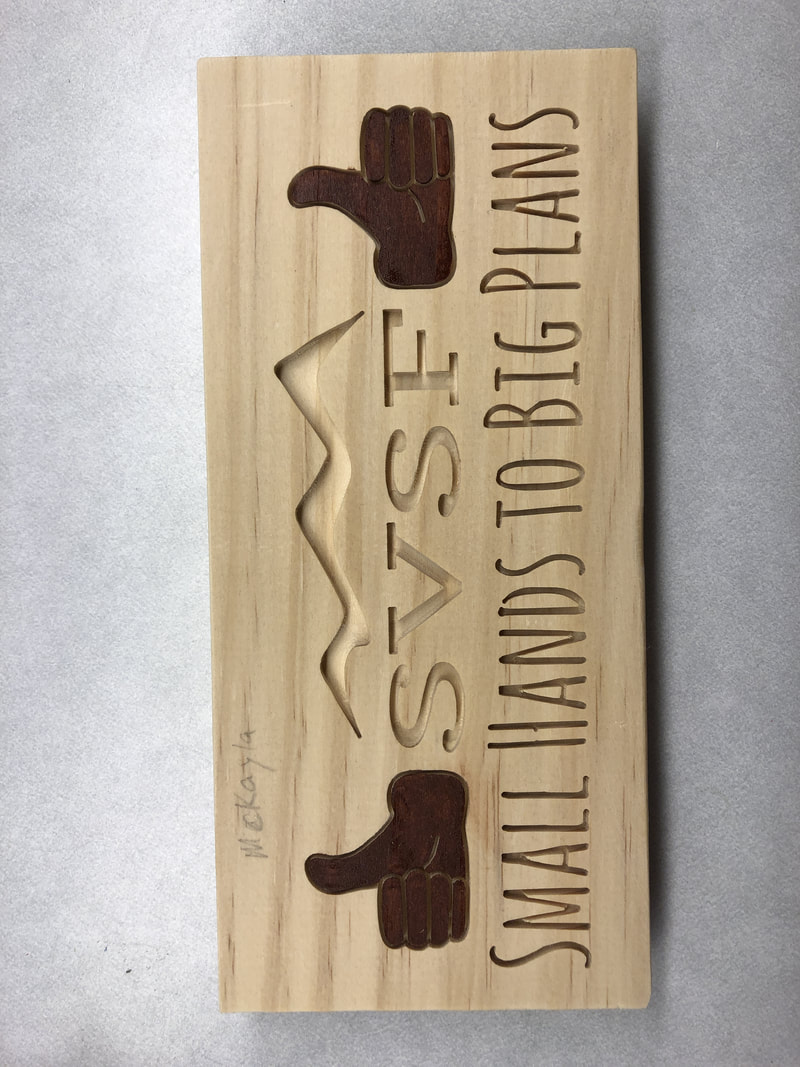
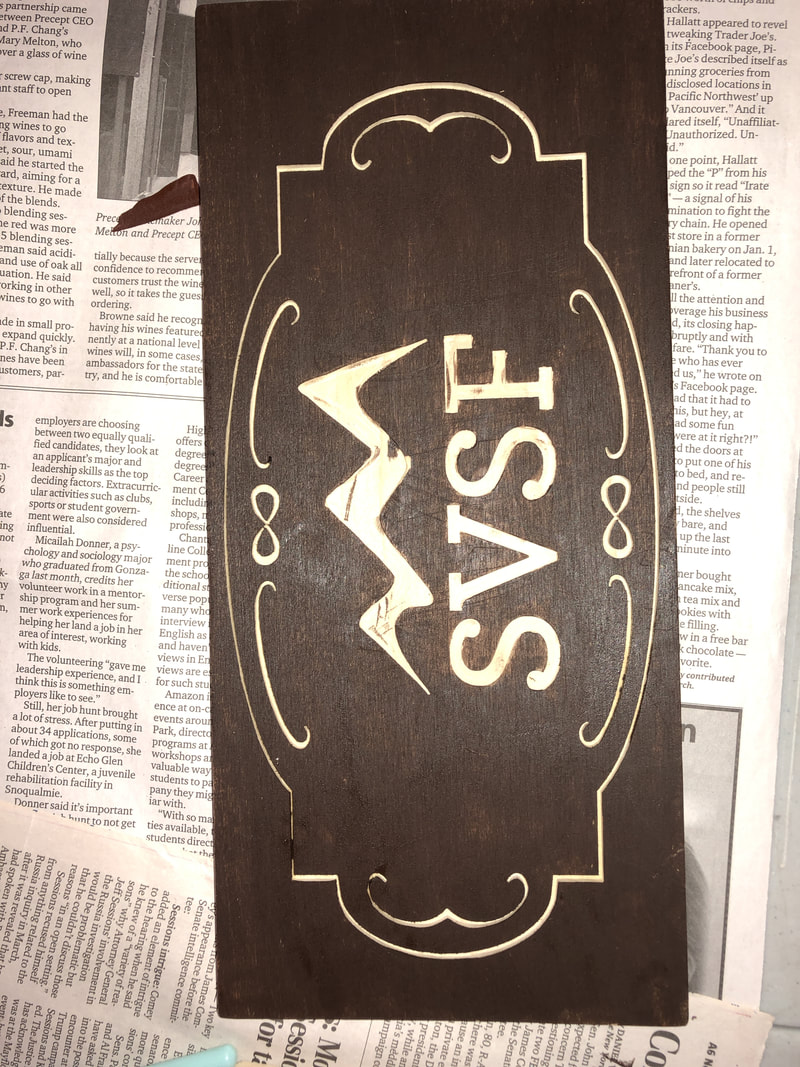
3D Carve Class Challenge
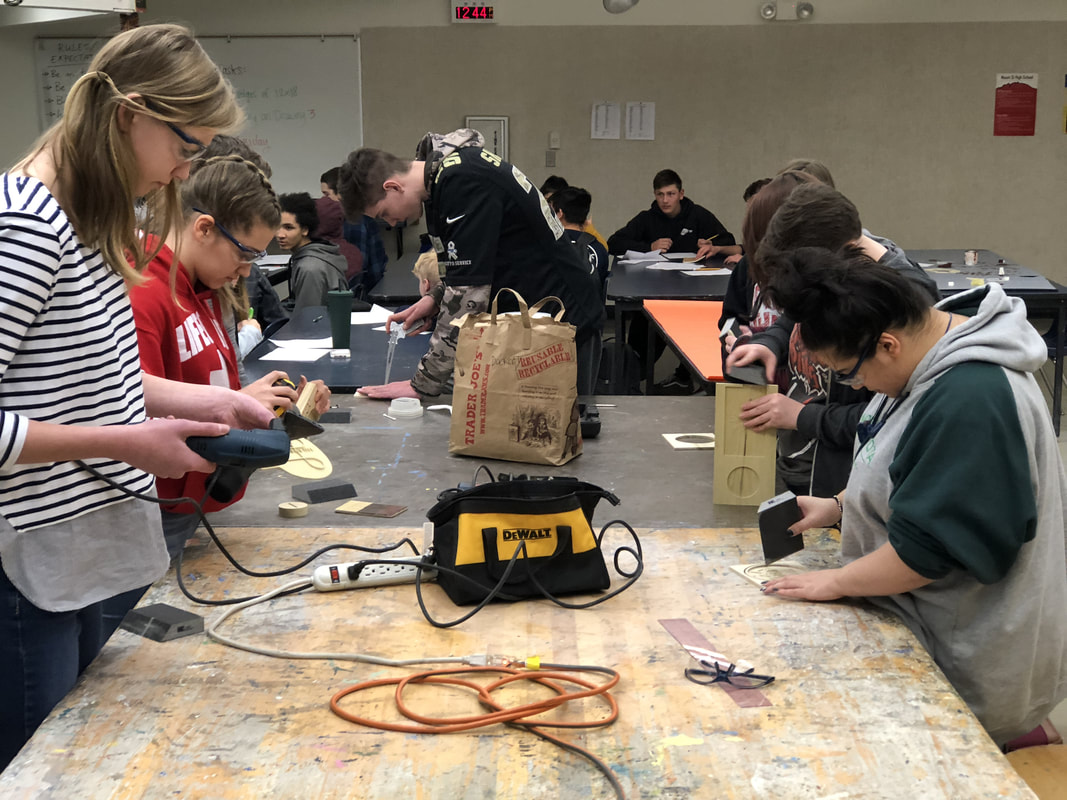
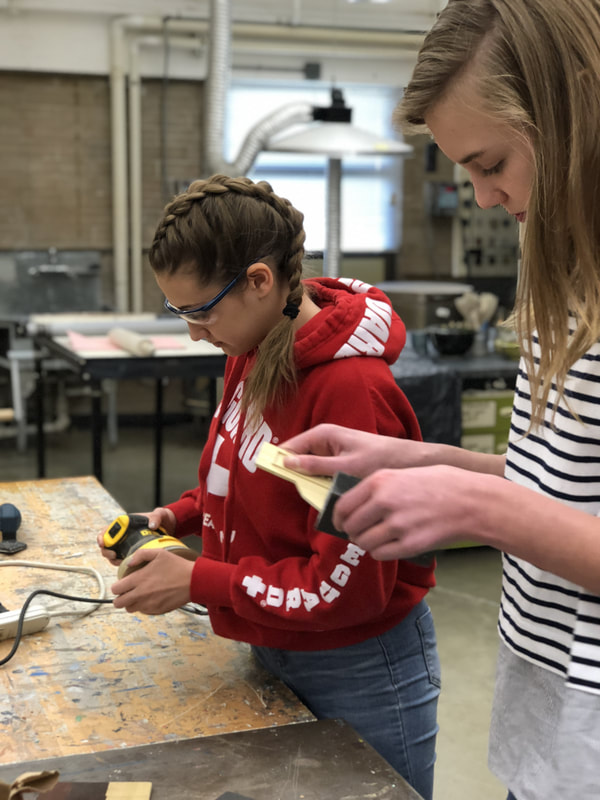
Student teams of 3-4 have been challenged to design, produce and advertise a 3D carving that has a functional purpose. Here are the directions.
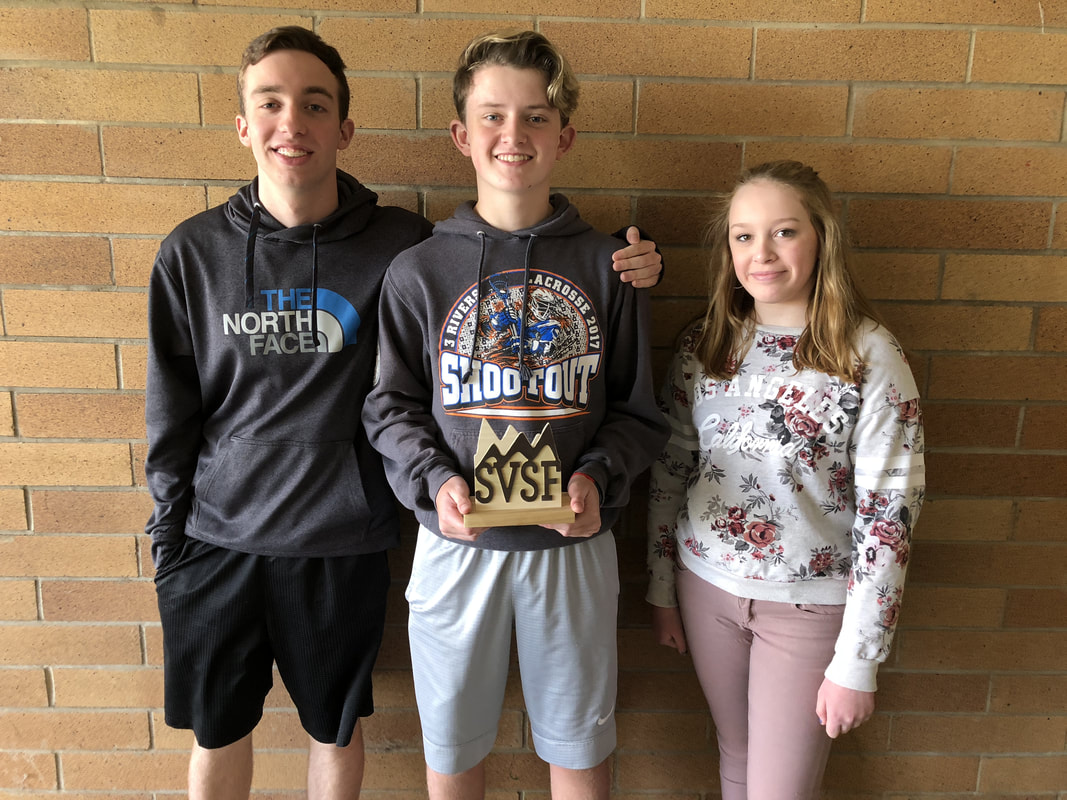
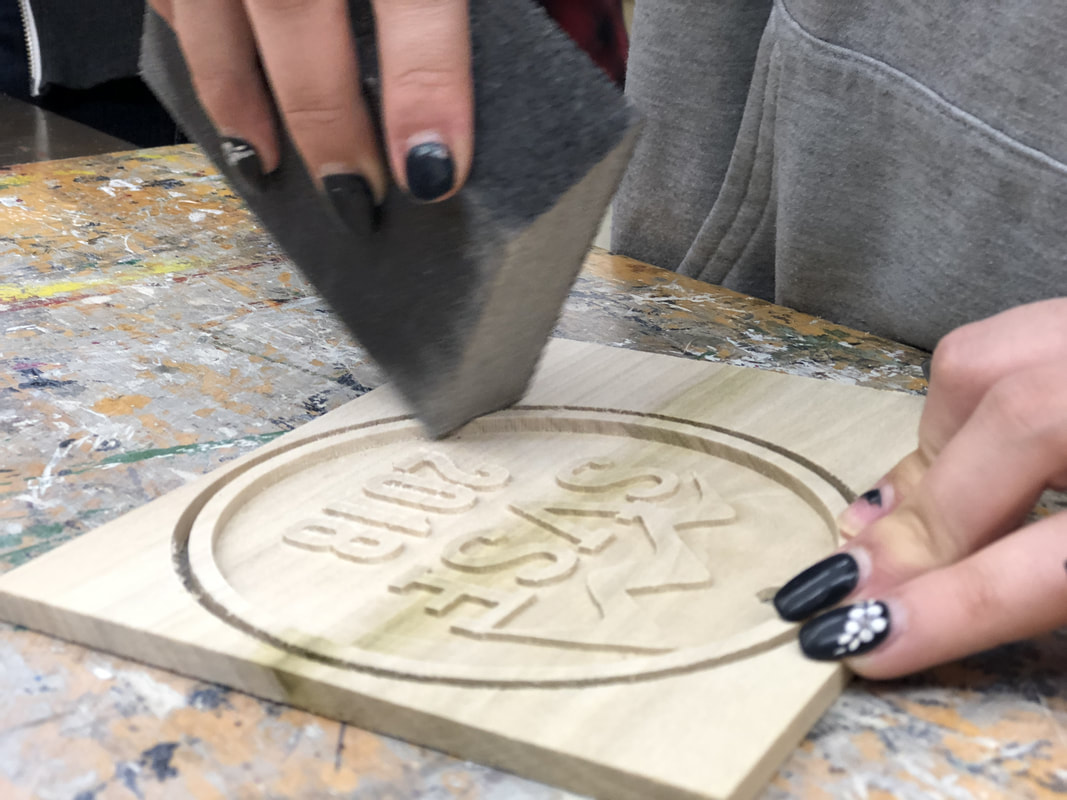
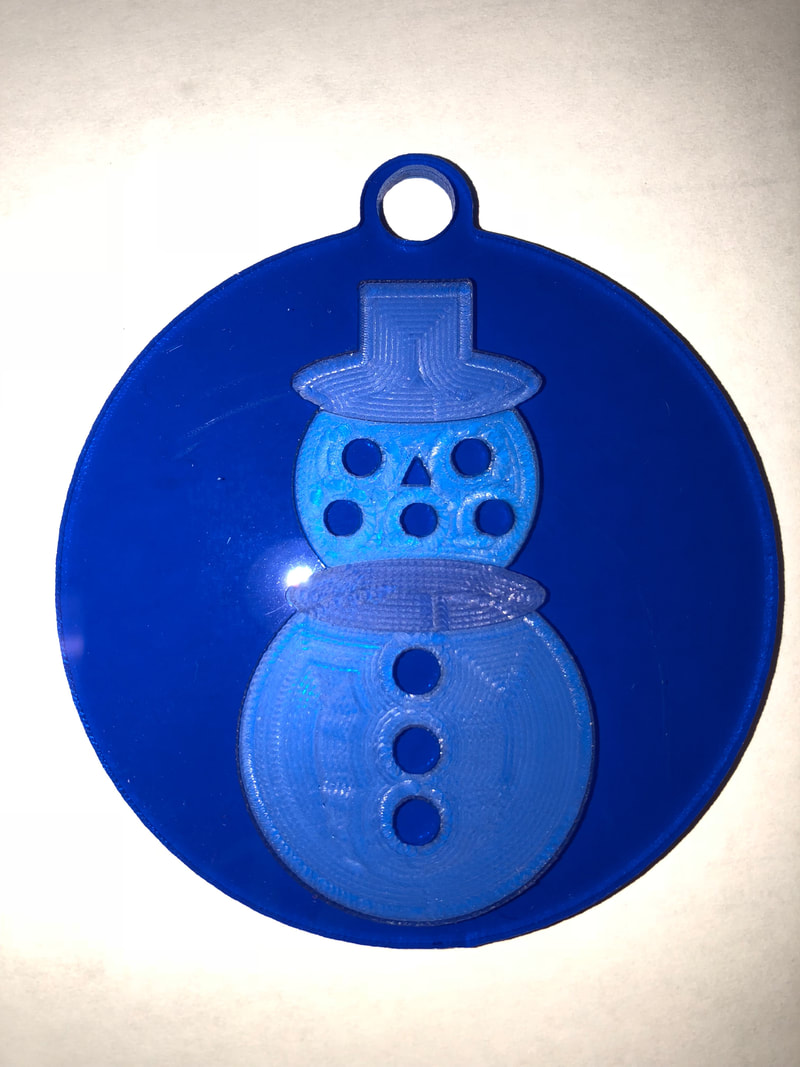
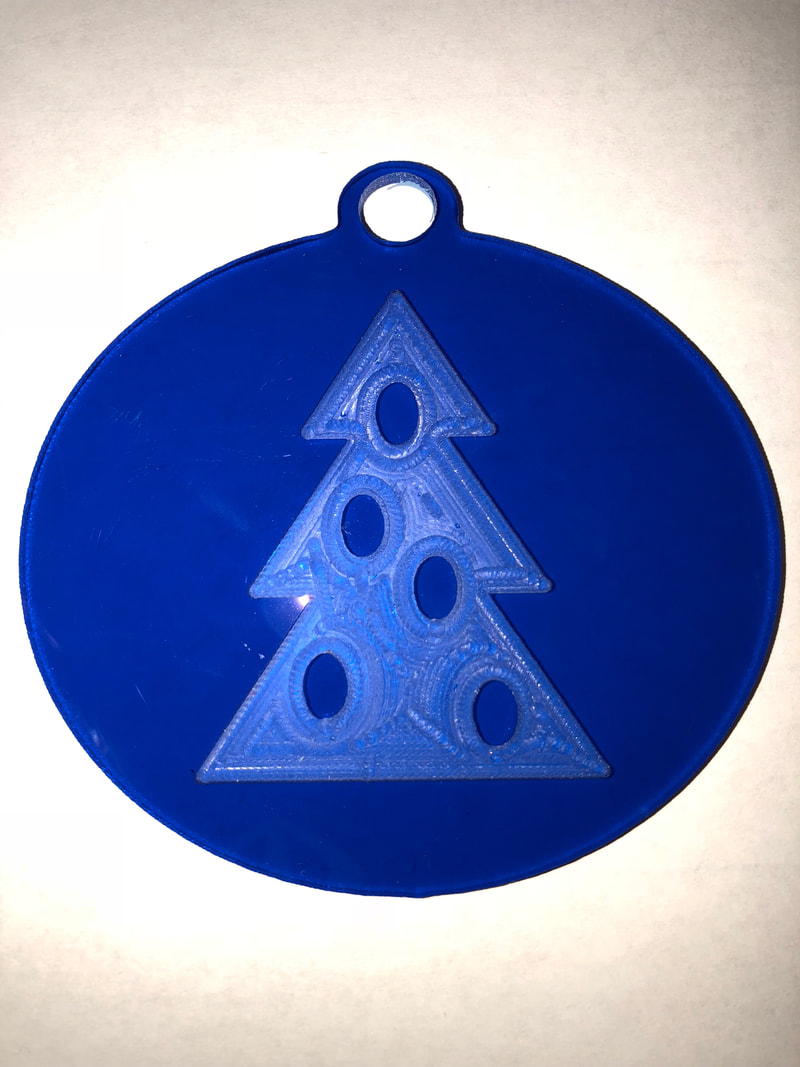
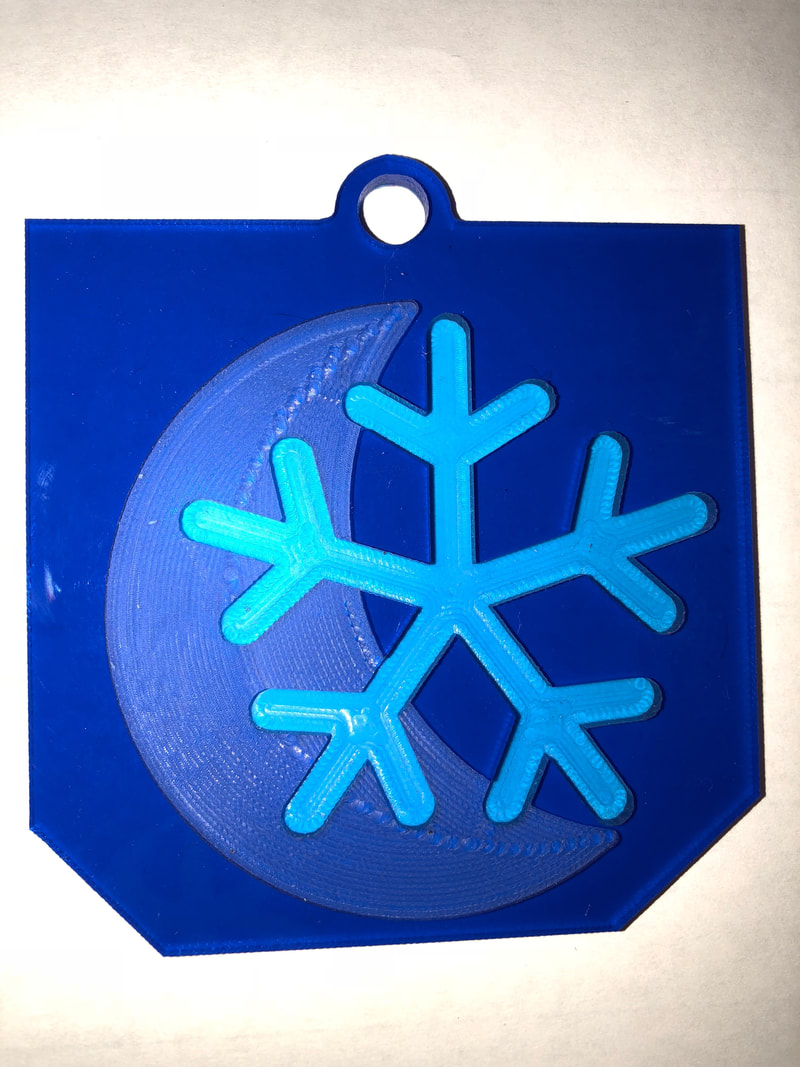
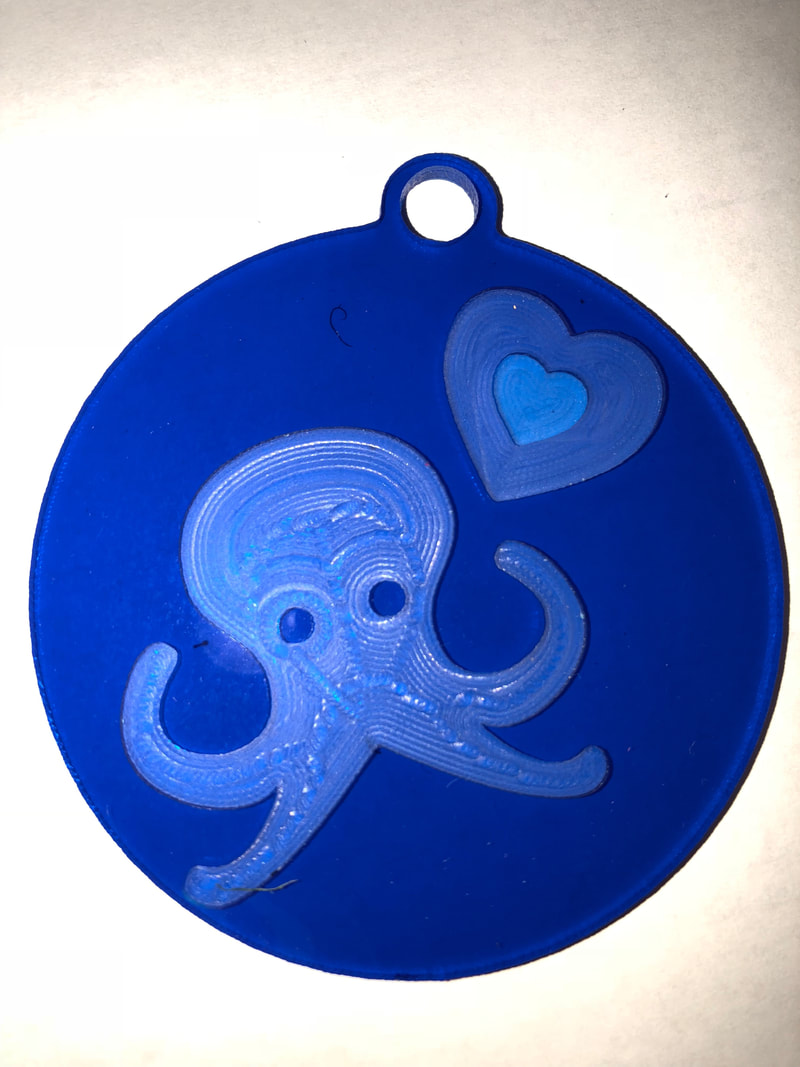
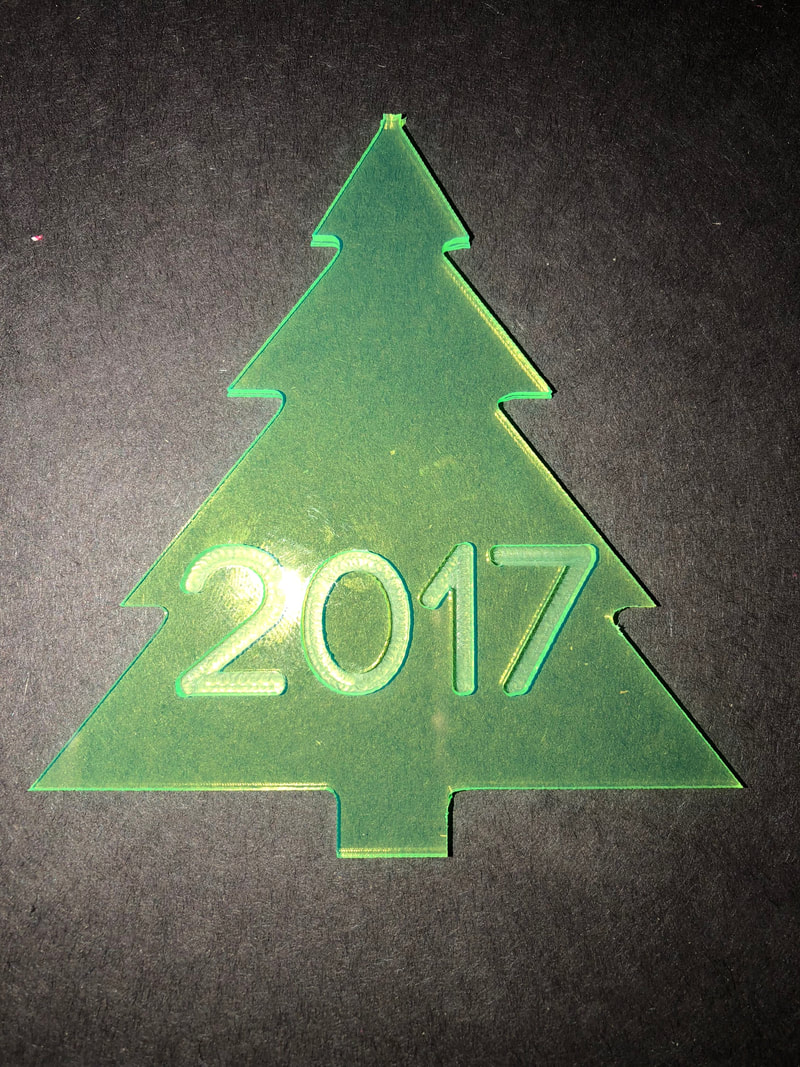
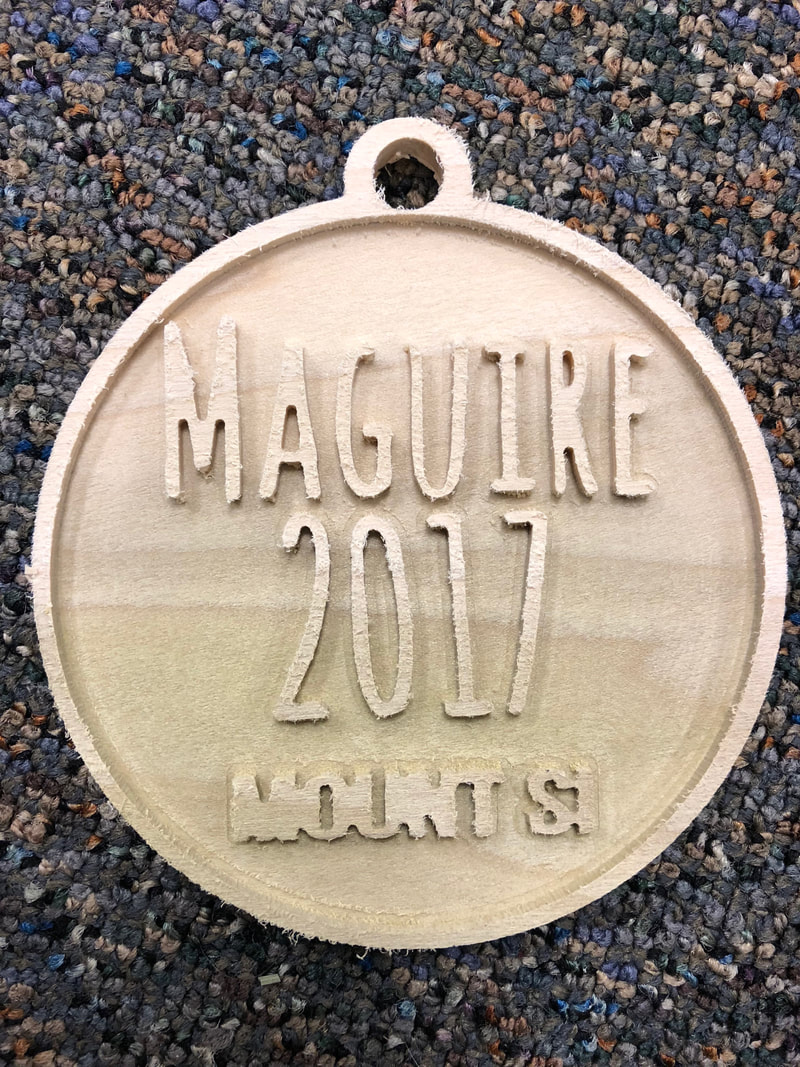
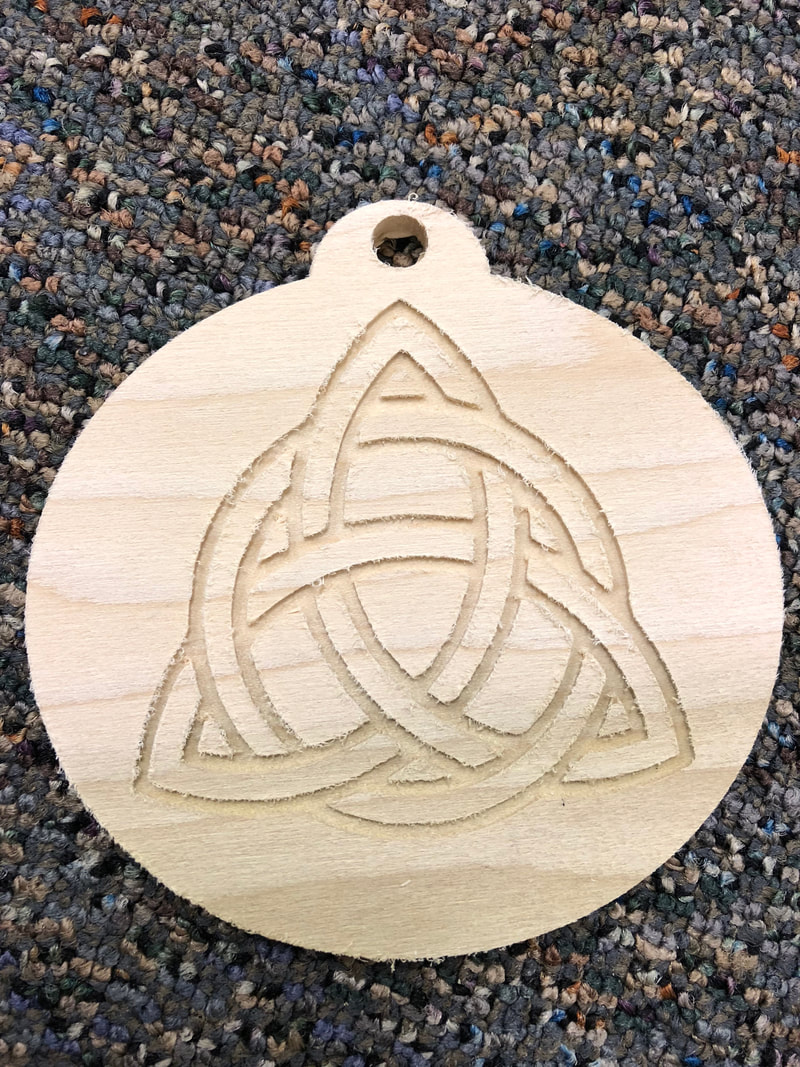
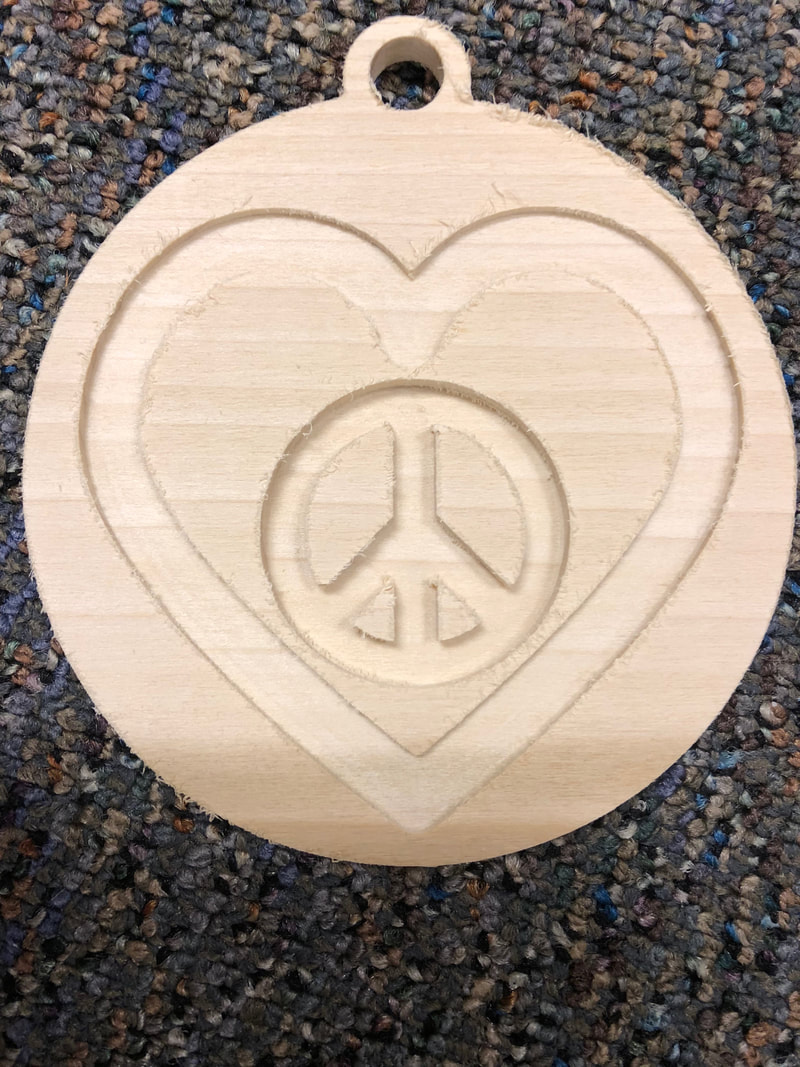
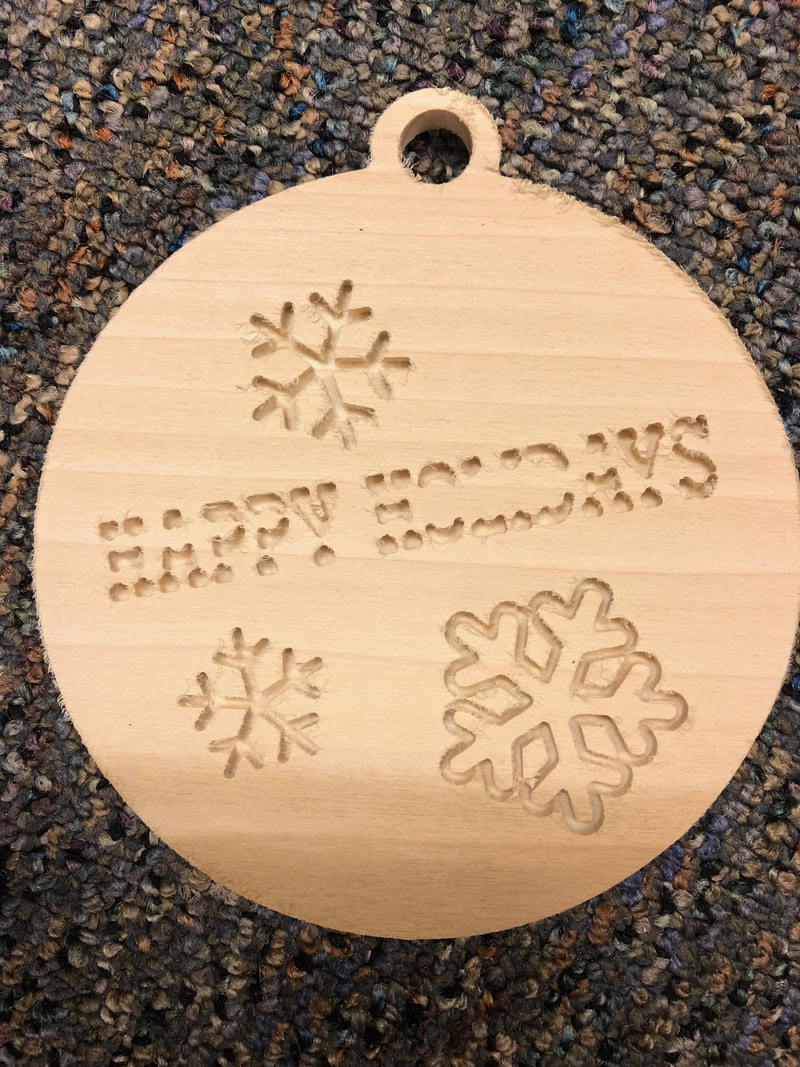
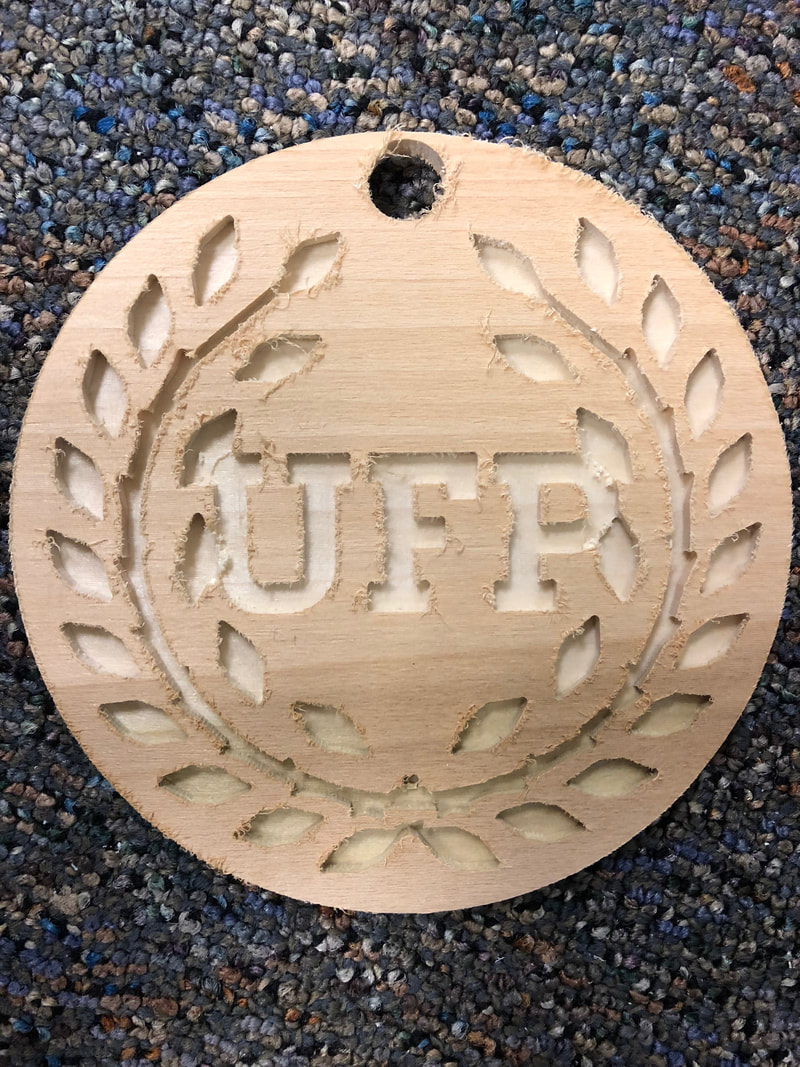
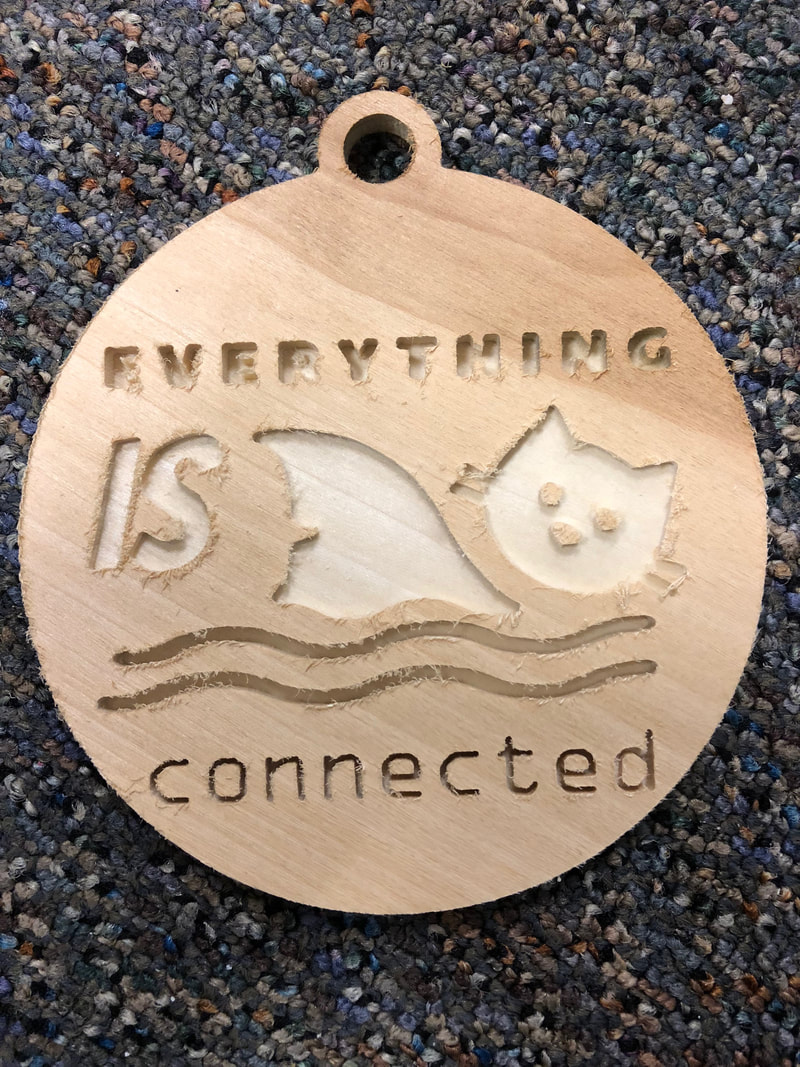
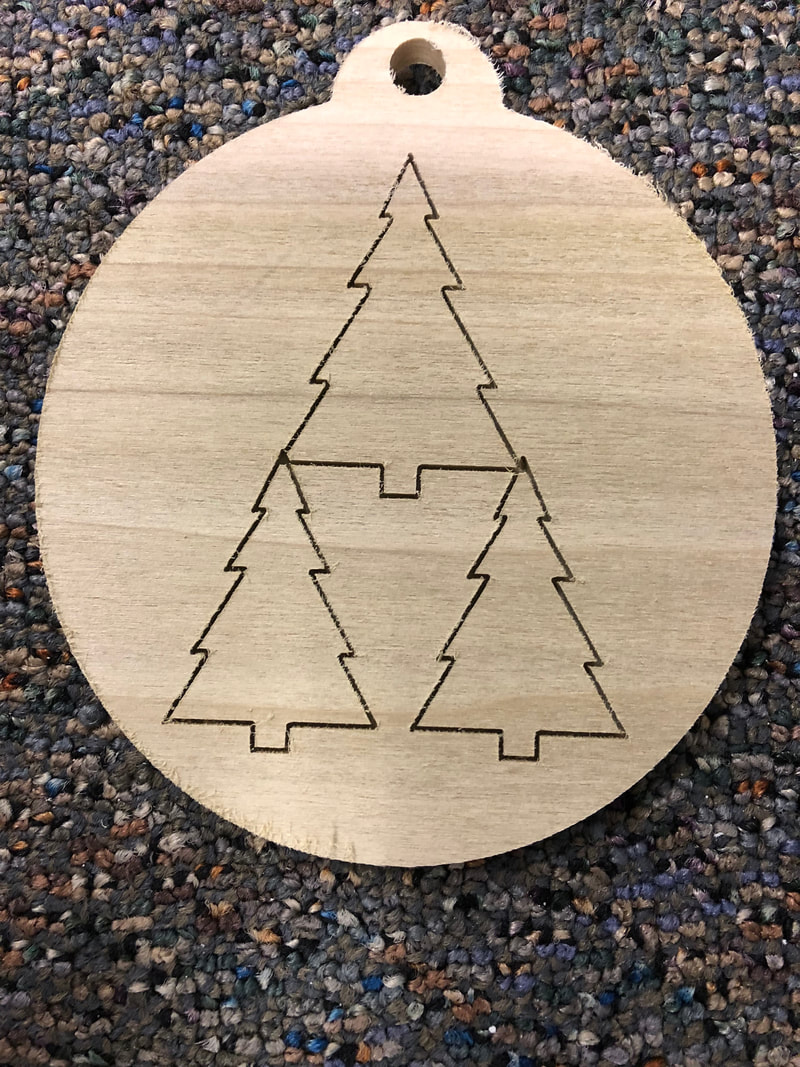
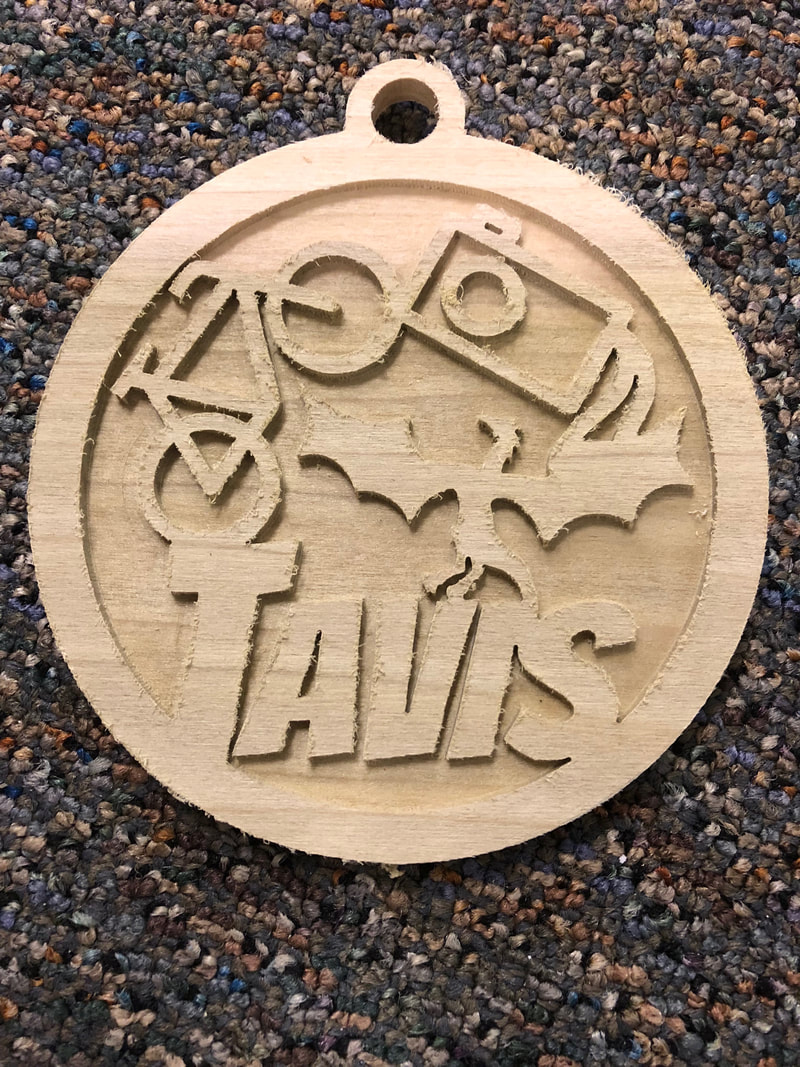
Snoqualmie Valley Schools Foundation Table Decorations
The Snoqualmie Valley School Foundation gave us the grant that allowed us to purchase our new 3D Carvey so we designed and produced a bunch of decorations for their annual fundraising luncheon.
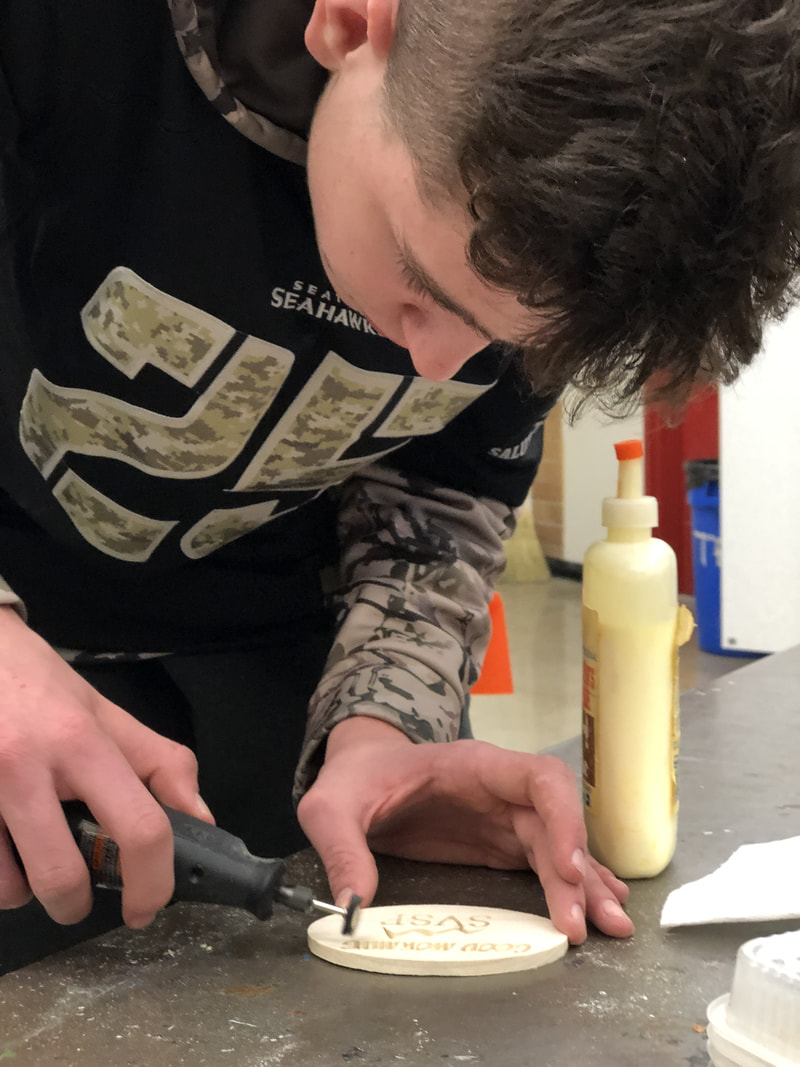
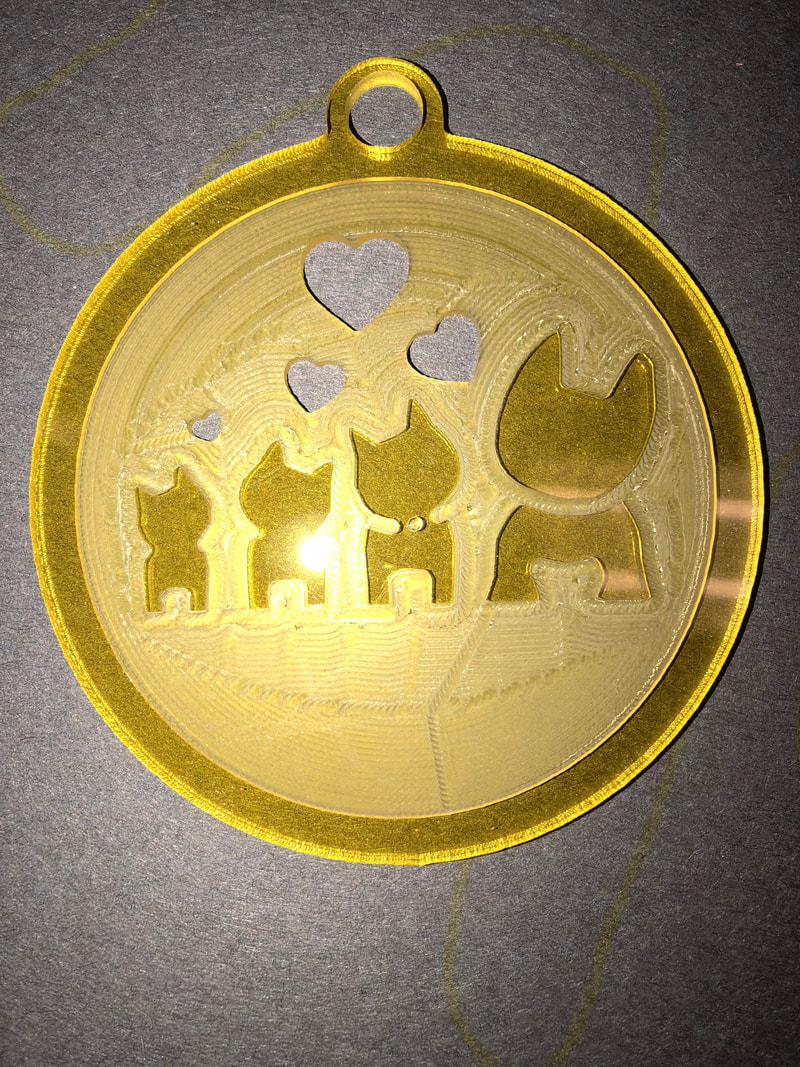
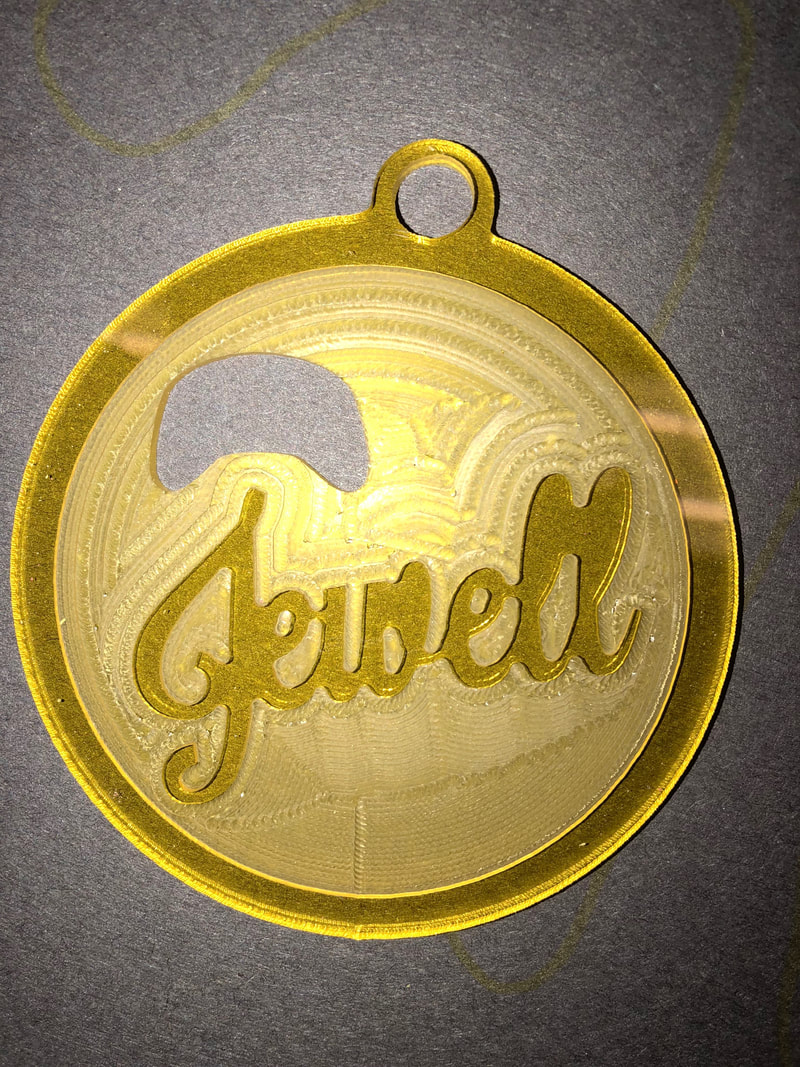
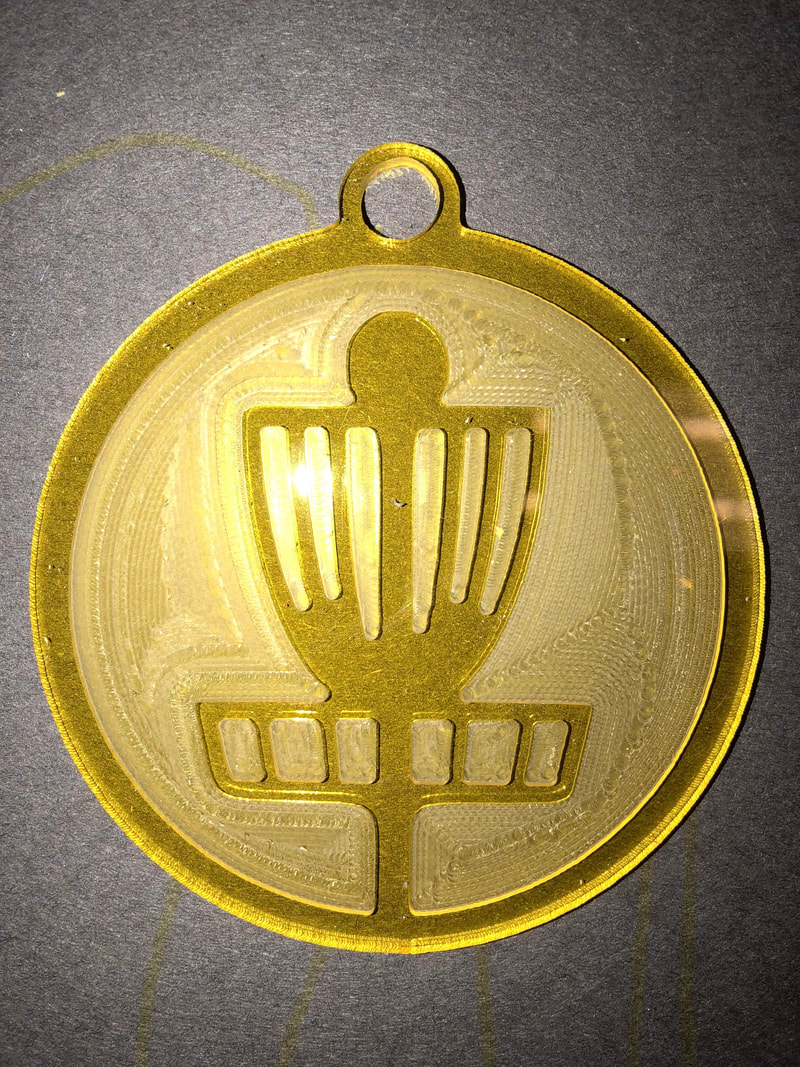
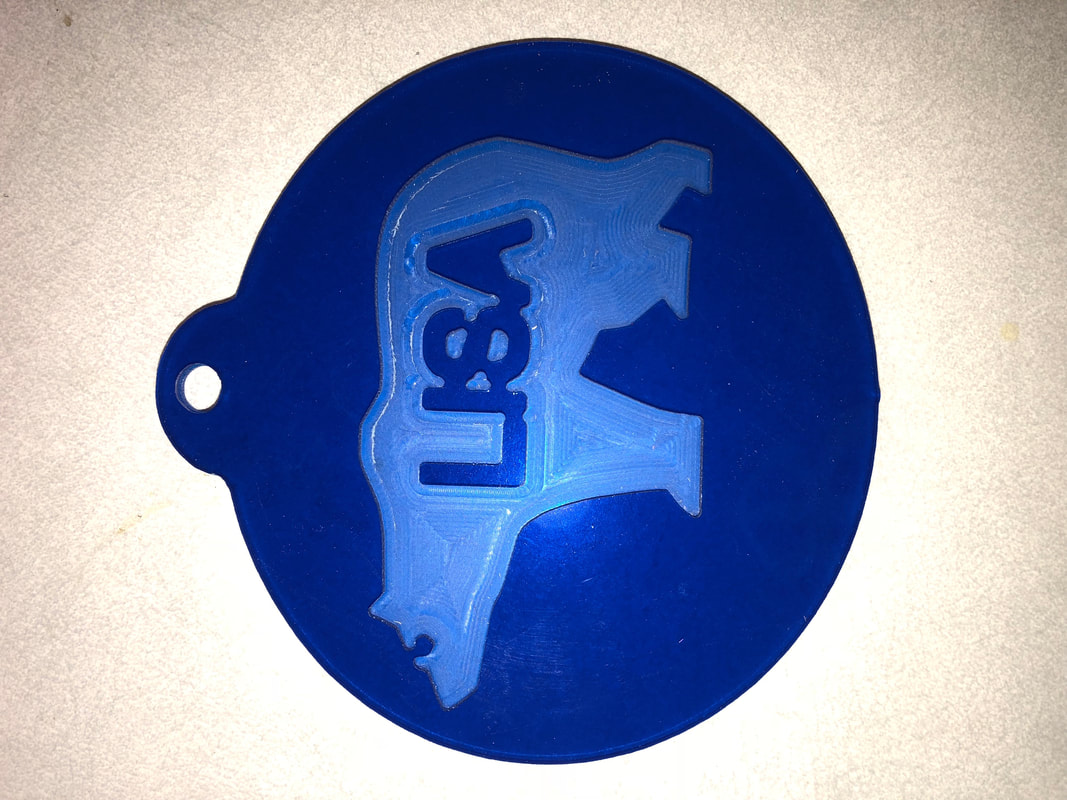
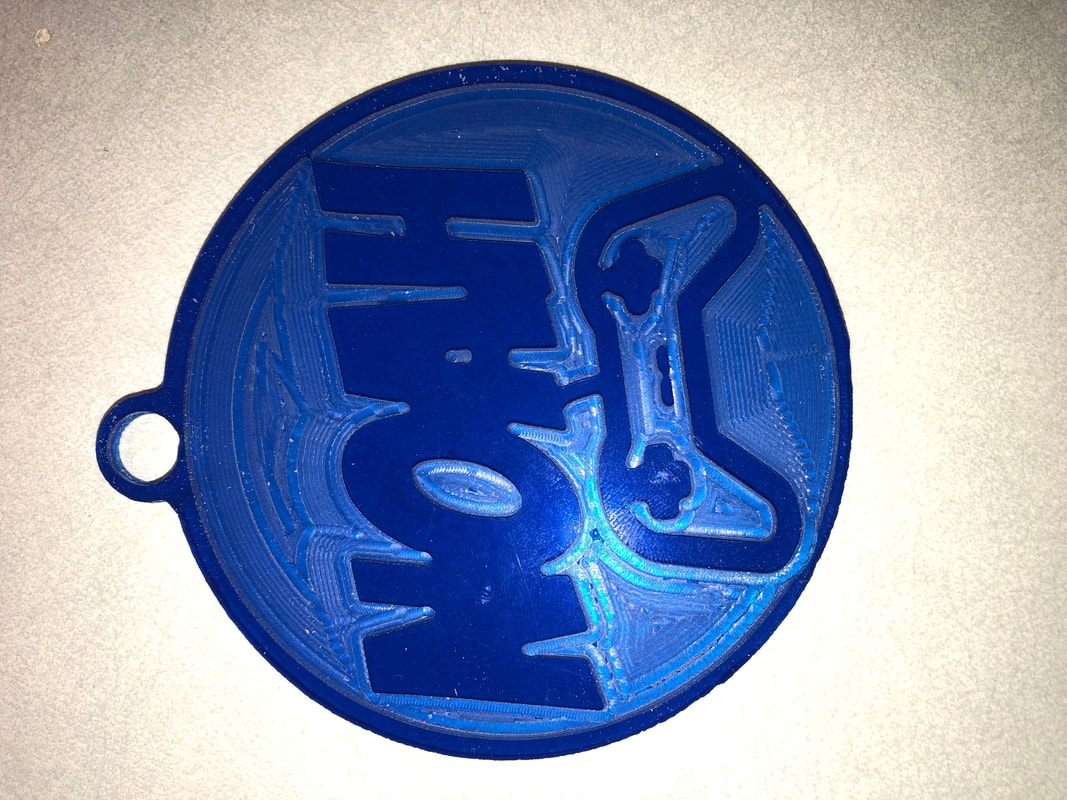
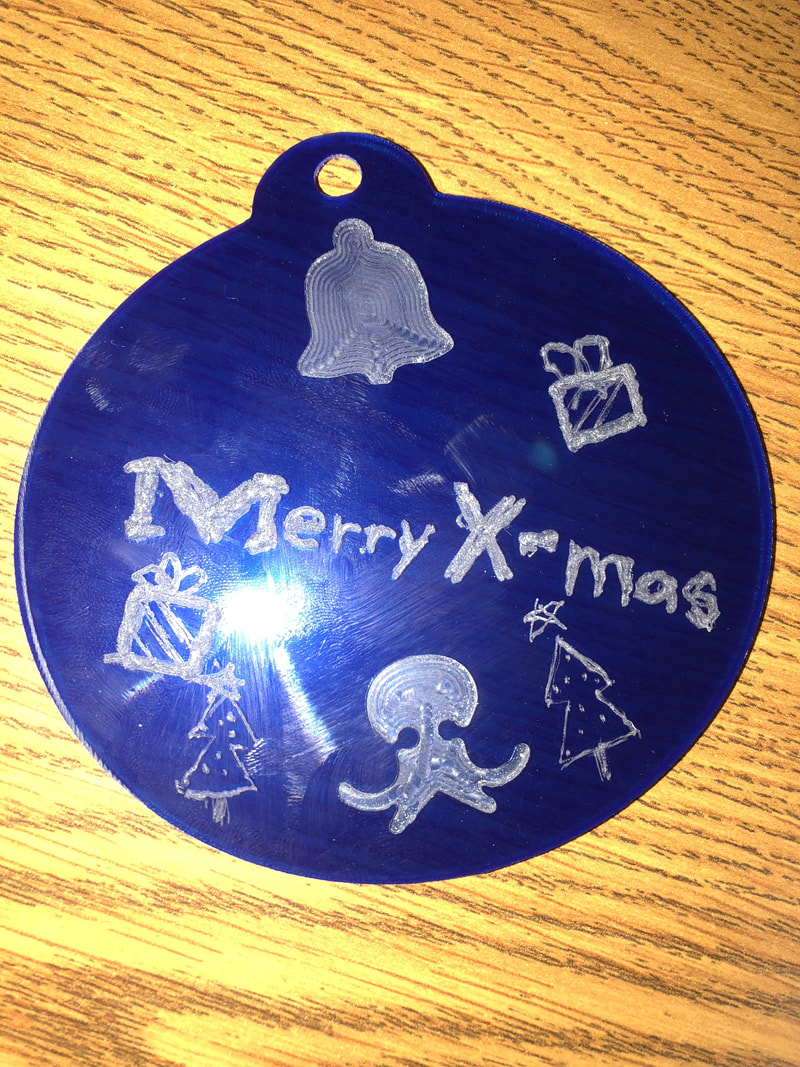
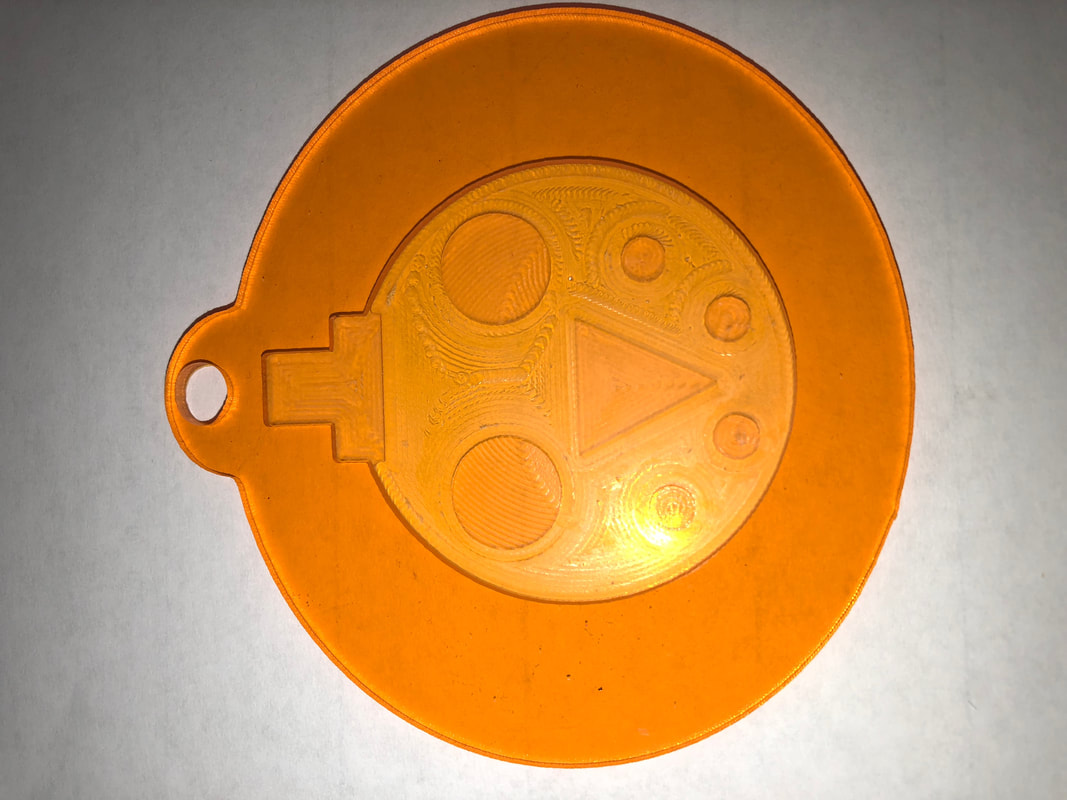
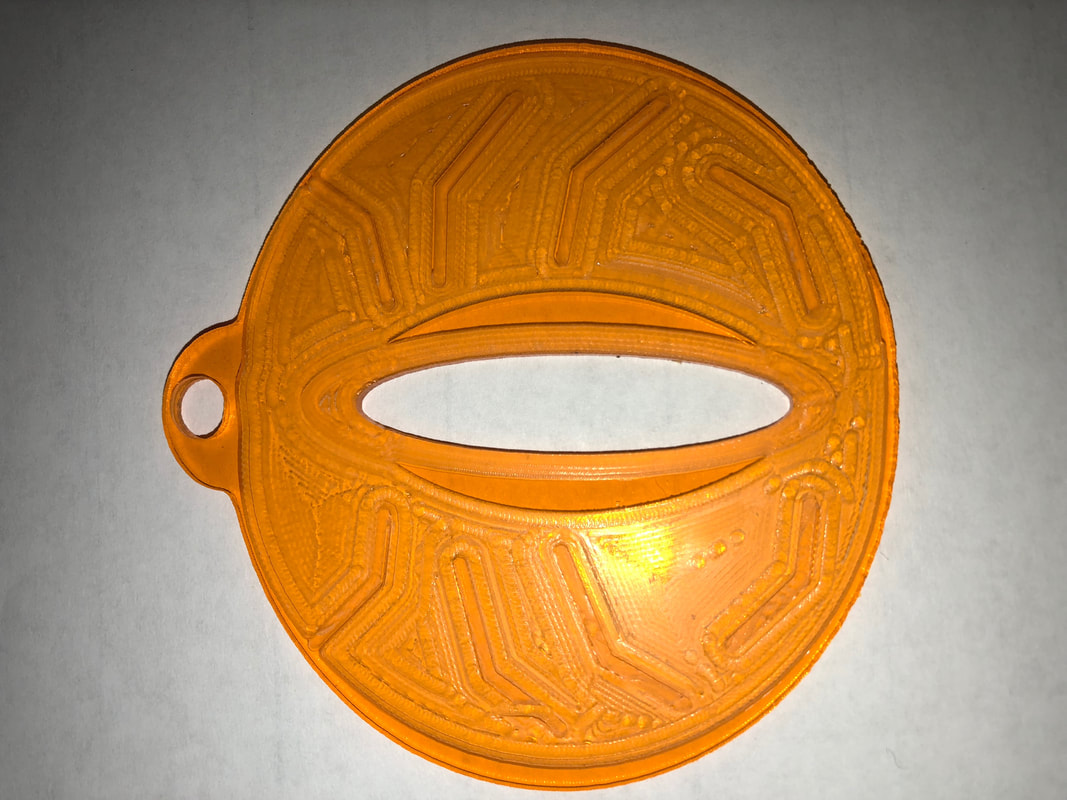
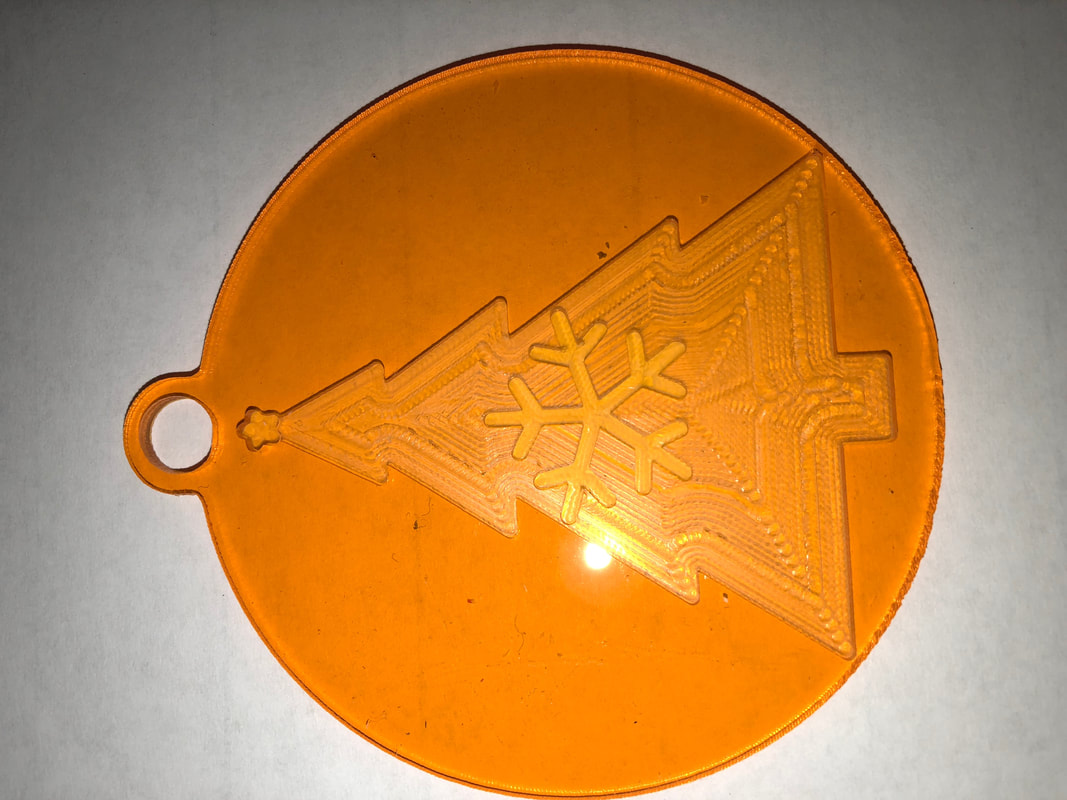
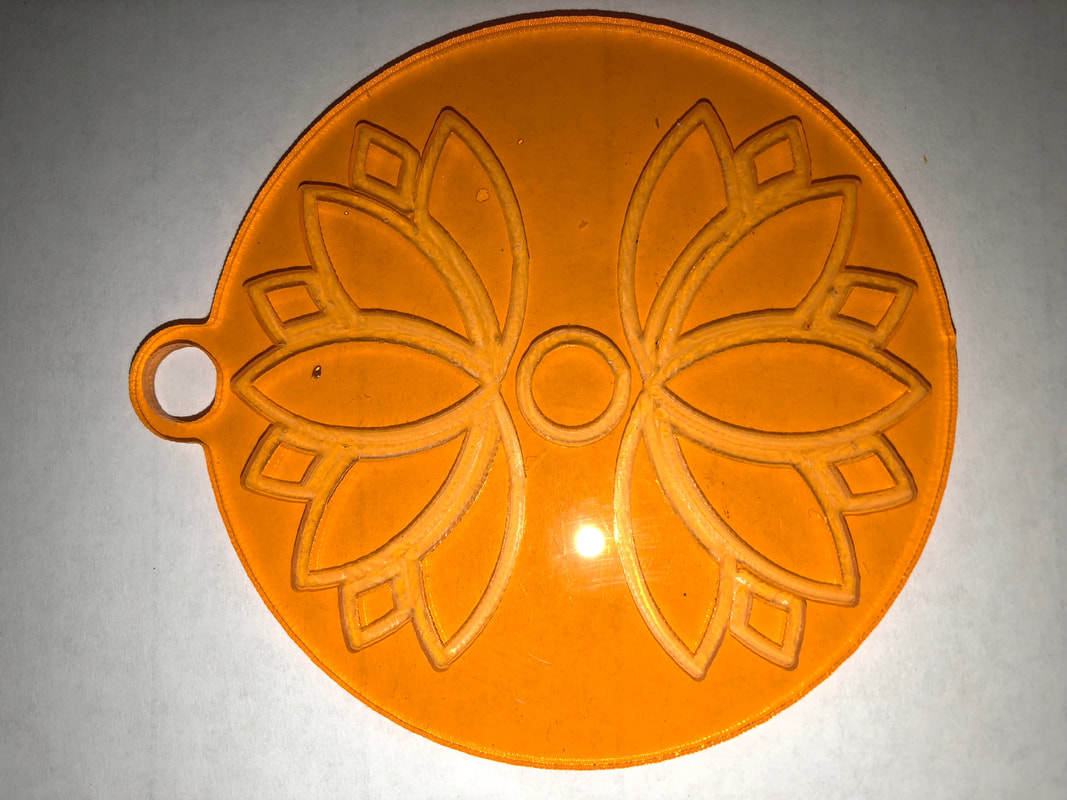
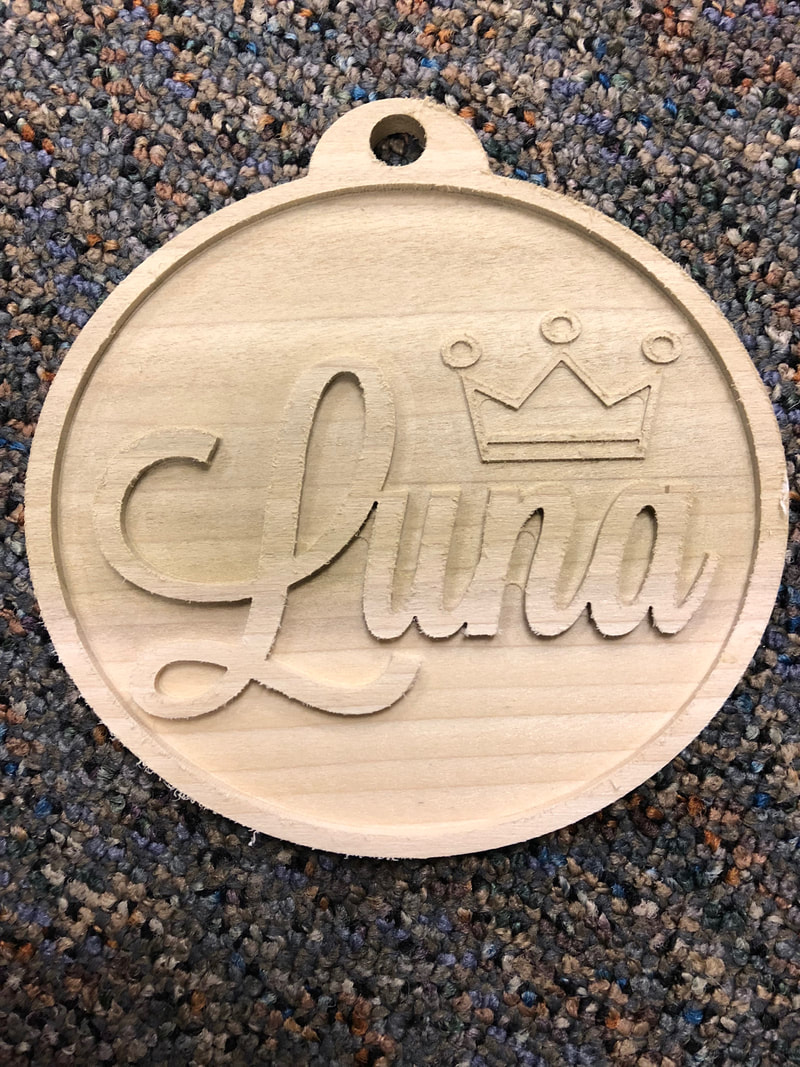
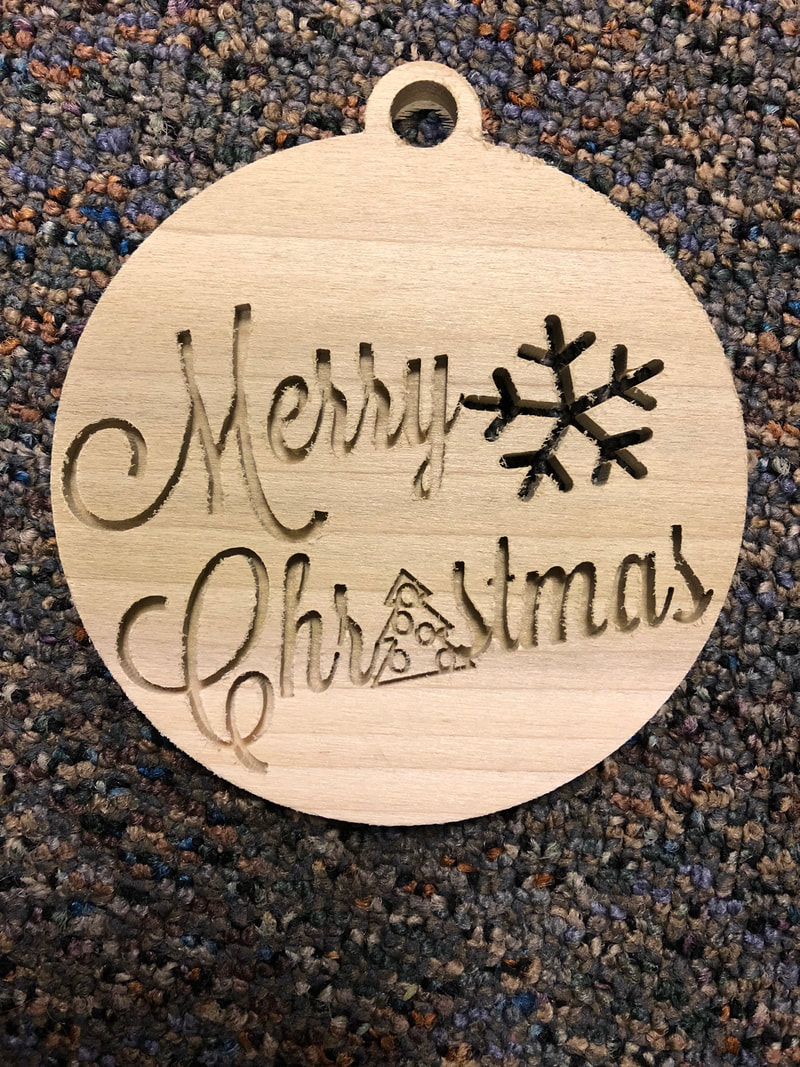
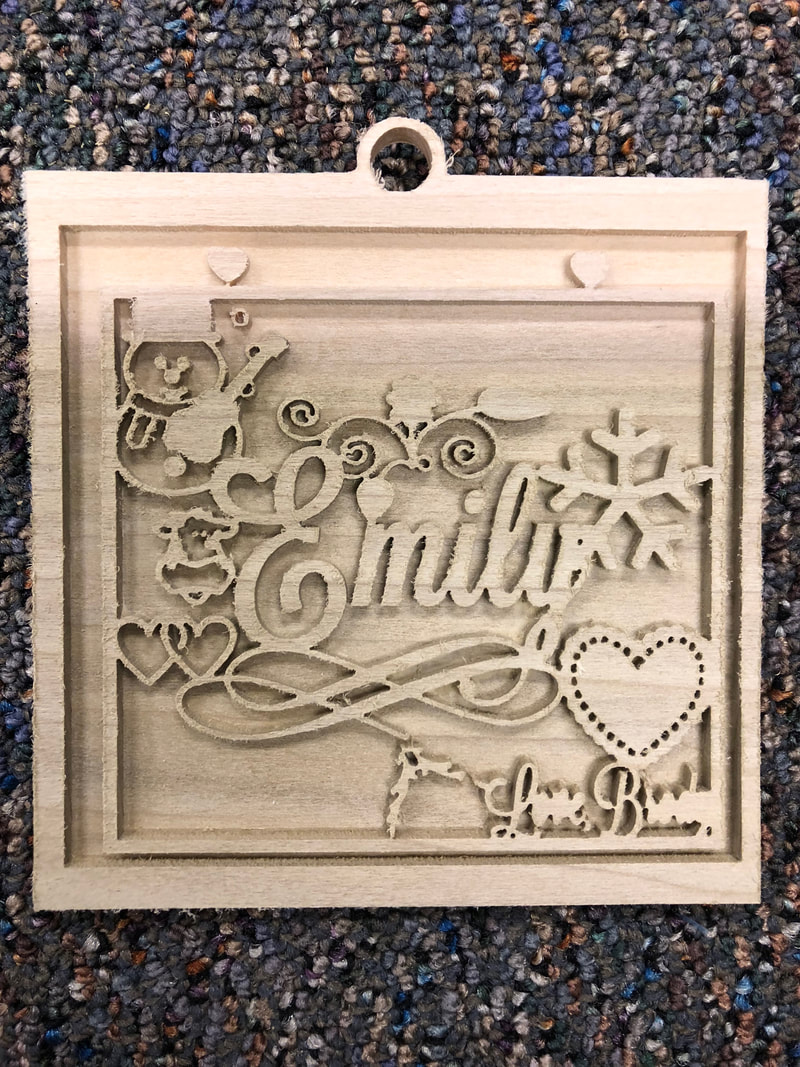
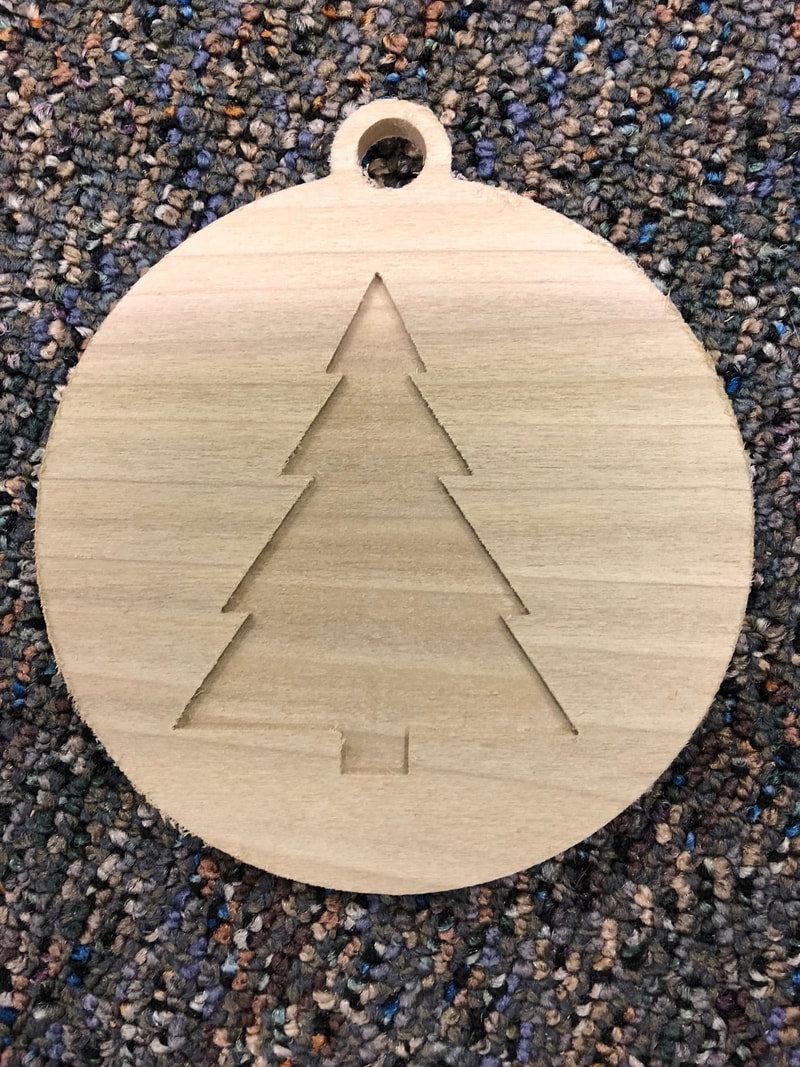
Ornaments
Lesson: Here is the Google Document that I used for this lesson.
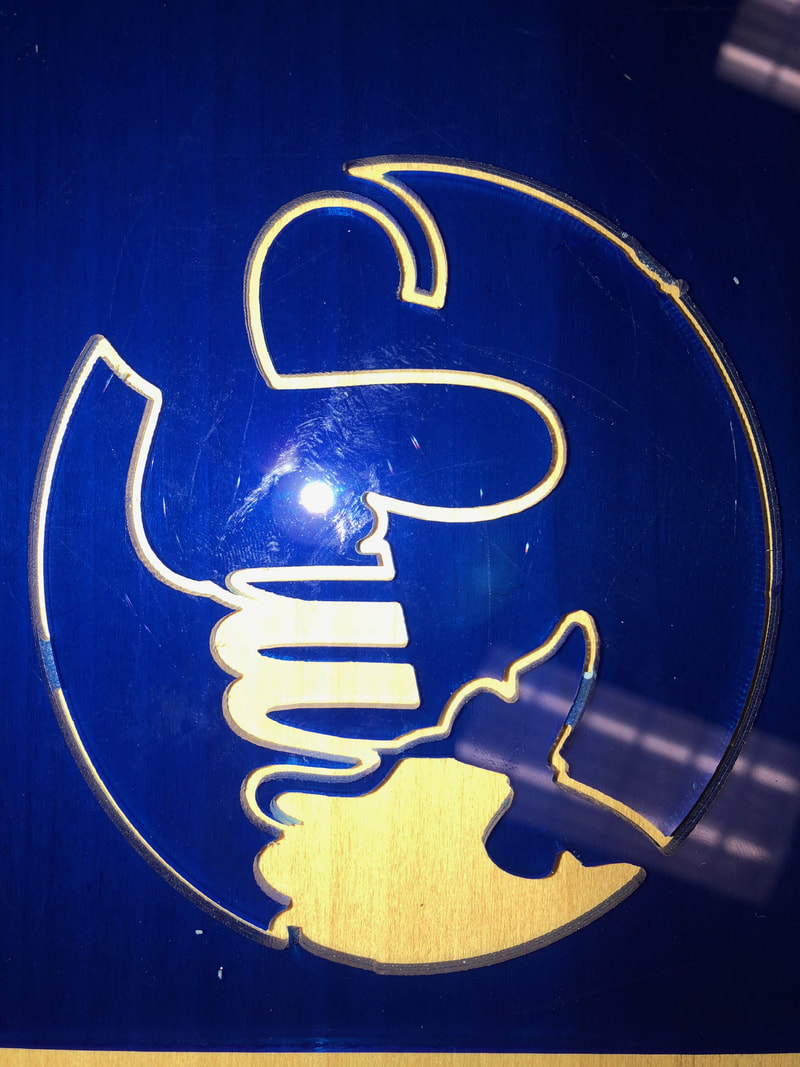
Acrylic: I purchased 8in x 12in cast acrylic sheets from Tap Plastics in Bellevue, WA for around $5 per sheet and we tried to get 5 ornaments per sheet. Next year I think I will switch to 5in x 11in sheets to match the size of the wood. This larger size will hopefully allow us to stick with a 1/16in upcut bit so we will not break so many bits and have all our details come out.
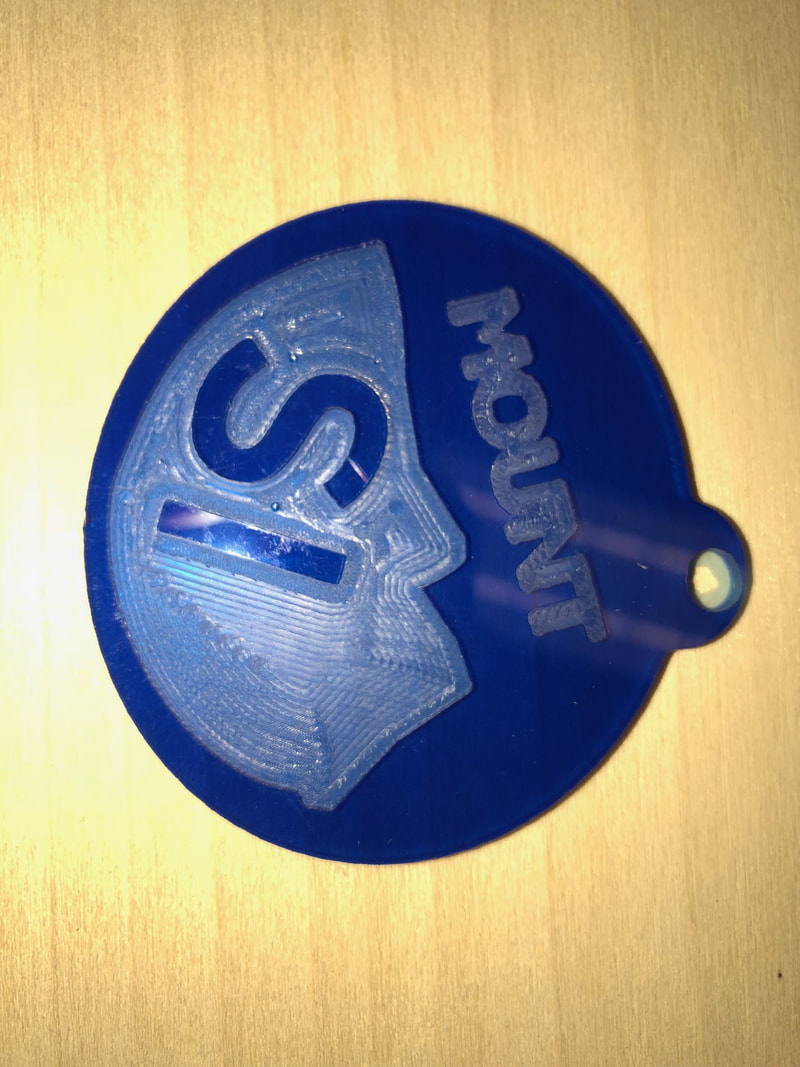
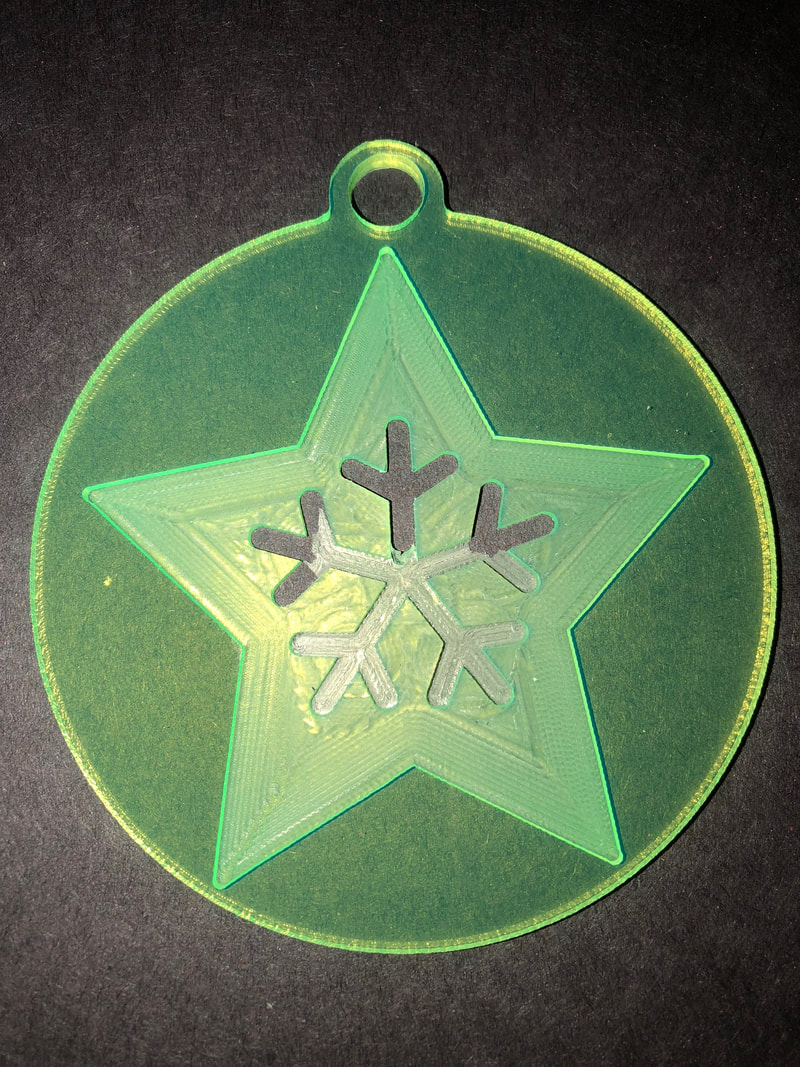
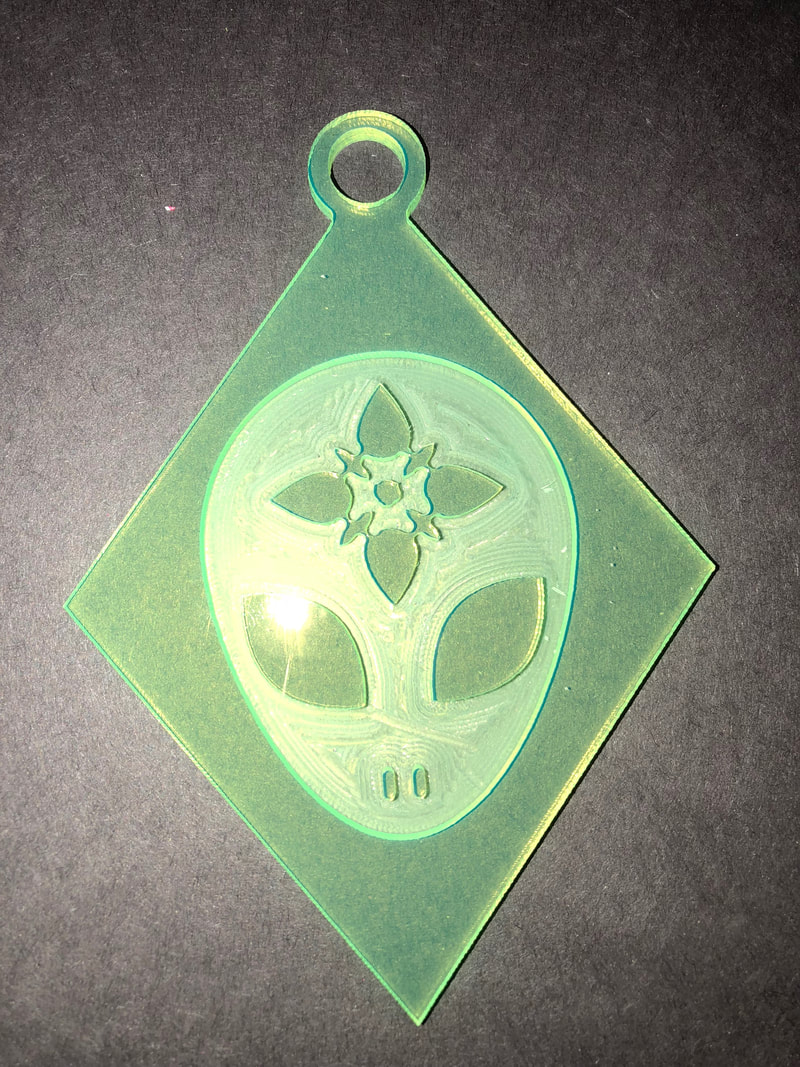
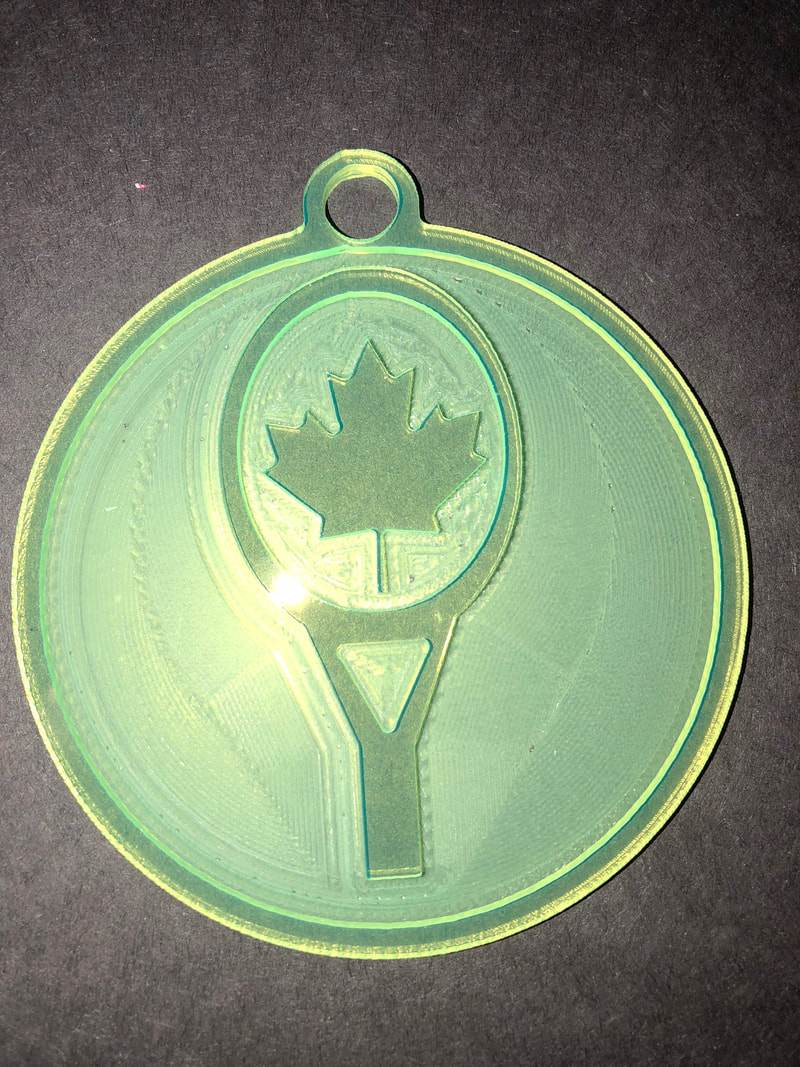
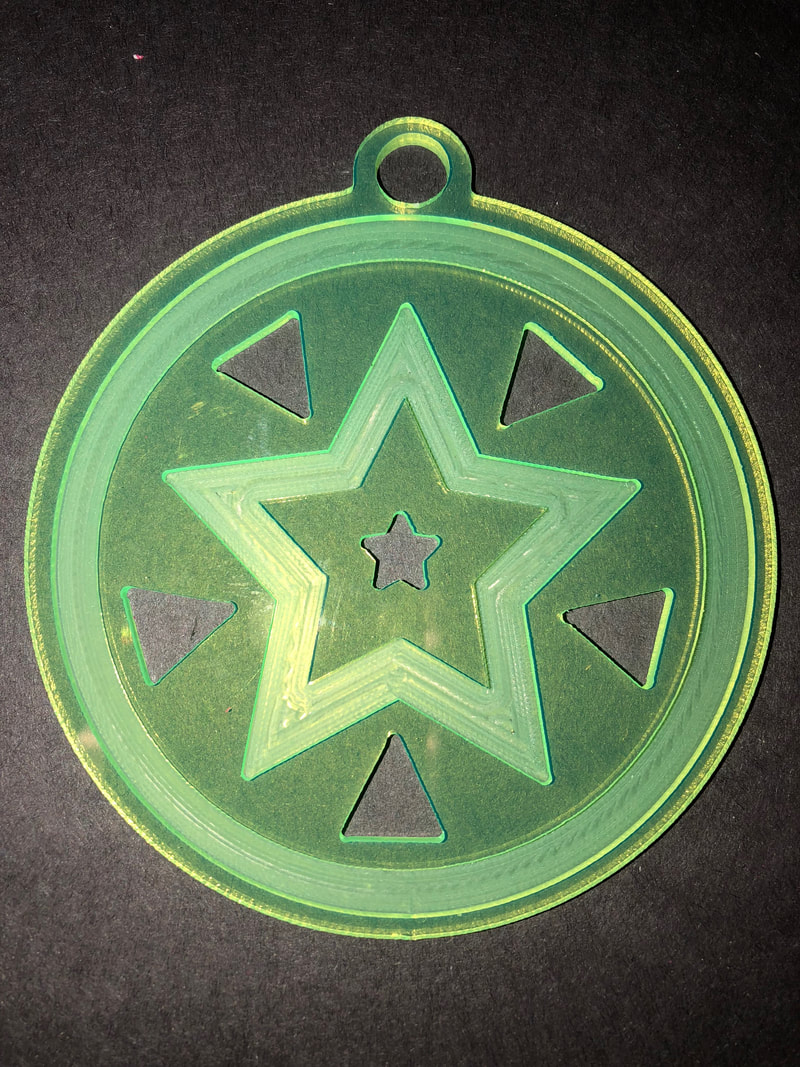
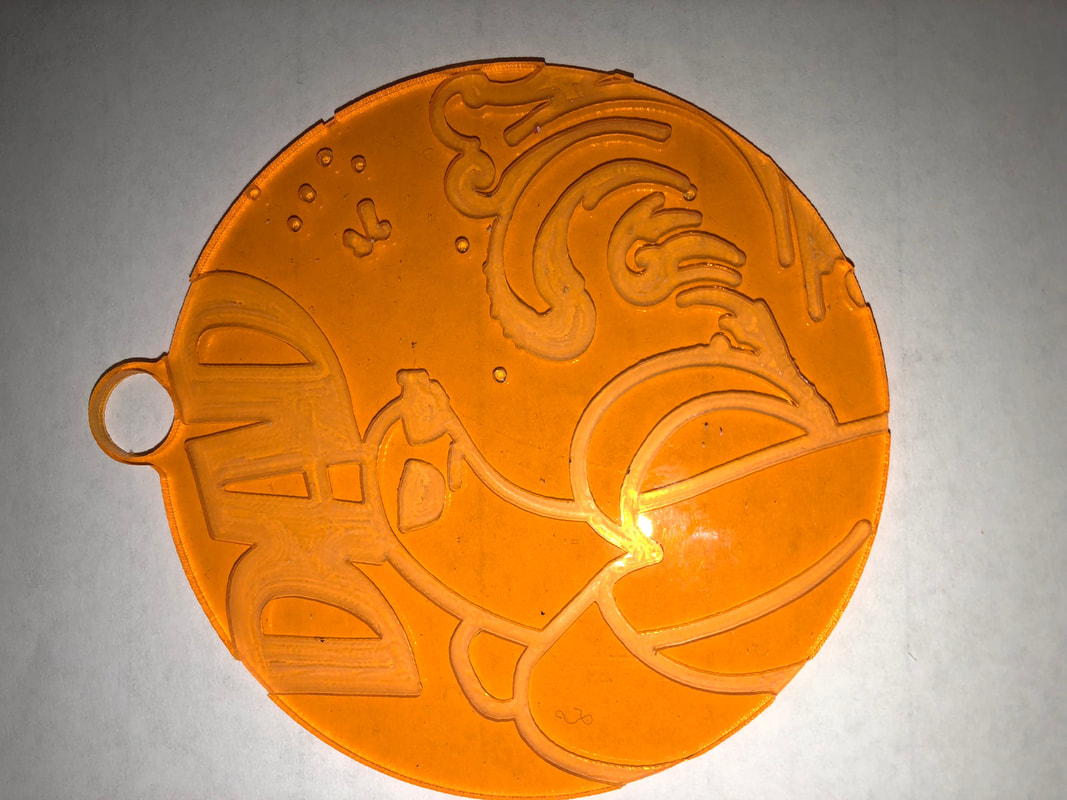
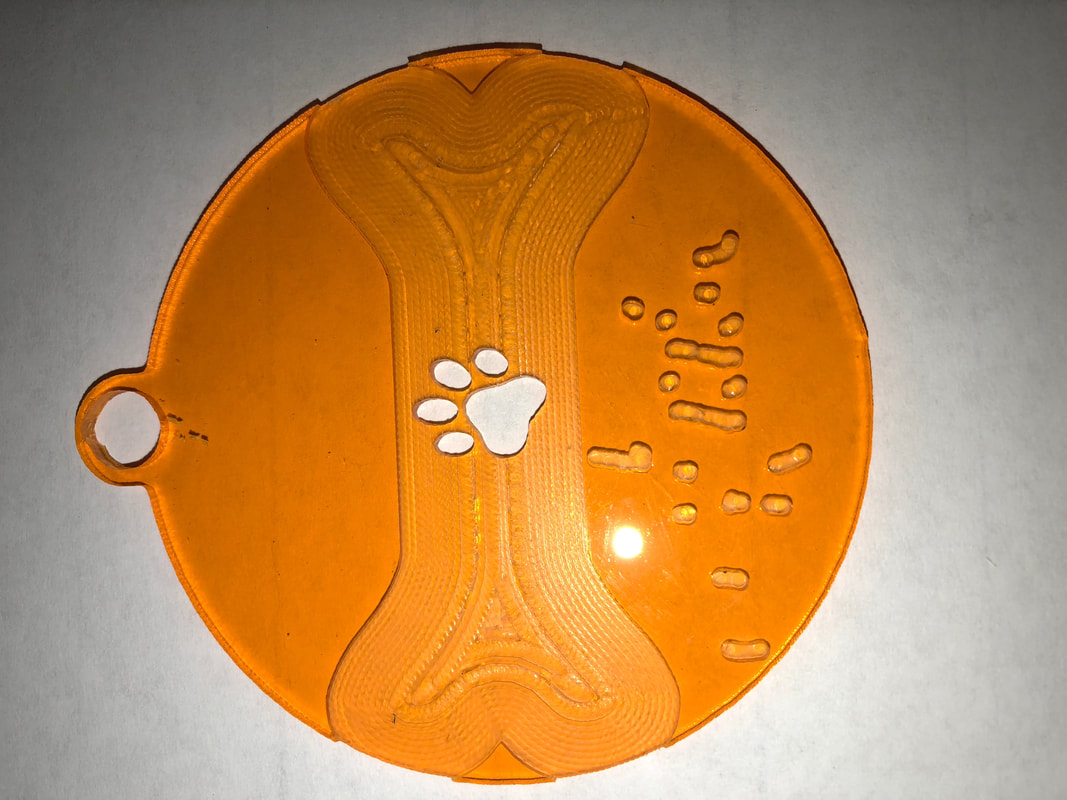
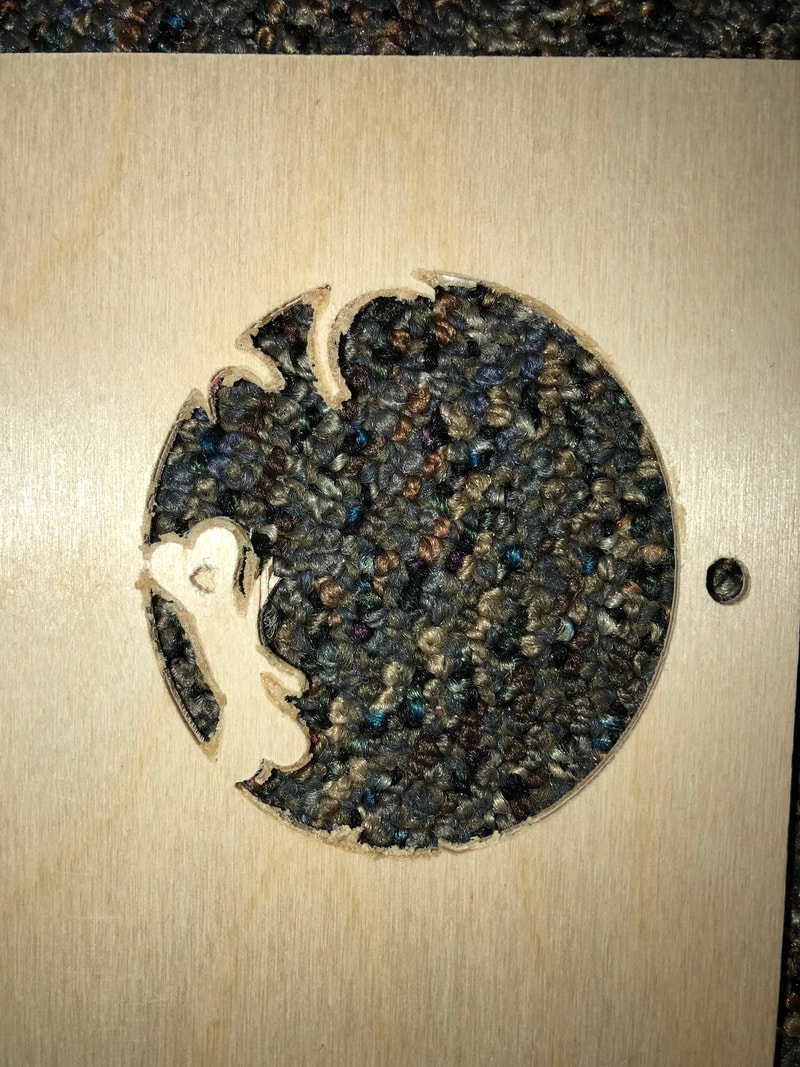
Wood: I used 1/4in Poplar from Lowes. This was my favorite! We found that carving our a circle and then leaving your design uncut worked the best.
Failure
Here are some the issues I ran into.
Double Sided tape: I tried using double sided tape but the small bit caught up in the tape and busted the bit.
Acrylic: I broke multiple bits 1/32in bits on the cast acrylic.
Double Sided tape: I tried using double sided tape but the small bit caught up in the tape and busted the bit.
Acrylic: I broke multiple bits 1/32in bits on the cast acrylic.